Design Your Bathroom
This is the second step in the application. Designing of the bathroom is done here from scratch.
This step helps in designing the bathroom by browsing catalog and adding, editing, deleting products. You can see the pricing details of the bathroom.
Adding Products
⚙️ Set up: Application distribution parameter RepairabilityIndex🔗
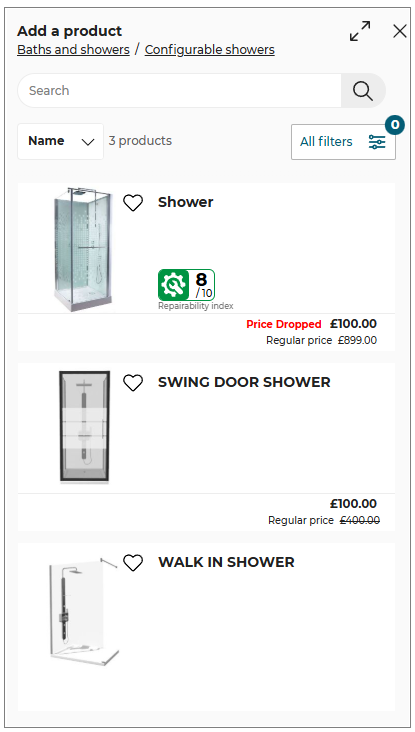
To add a product in the bathroom, open a particular catalog or you can search the product using the Search feature in the design toolbar and select the product from the catalog to add the product.
After adding the objects, you can move and place the objects on the wall (like a bathroom mirror).
To search a product, click on the Search button in the design toolbar and type the product name in the search bar & click the search icon. The catalog with a list of products matching with the name entered in the search bar is displayed, as shown below:
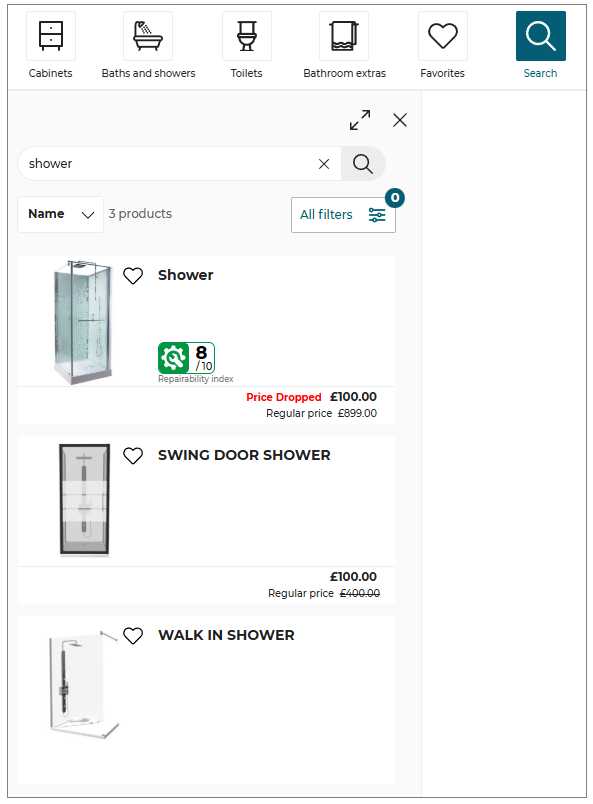
The product can be searched by its type, reference, color, or material.
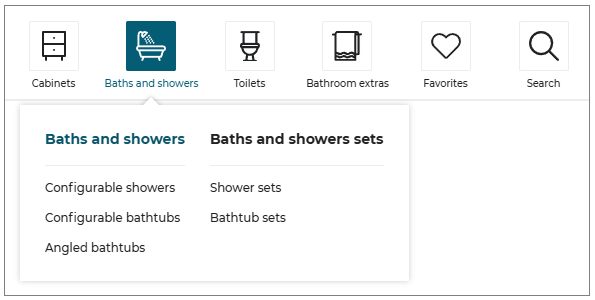
To open the catalog, click the desired category from the design toolbar & then click subcategory.
For example, click the Baths and Showers and then click Configurable showers to open the catalog of Configurable showers.
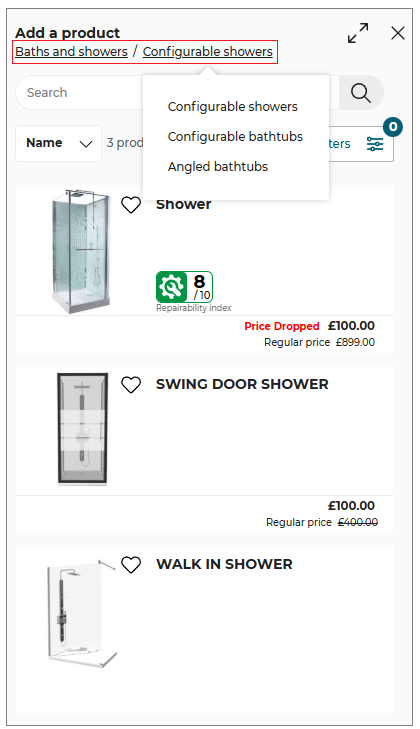
You can change the category or subcategory from the breadcrumb menu in the catalog.
For example, to change the subcategory click the Configurable showers from the breadcrumb menu and select Configurable bathtubs, as shown below:
To add the product, click the product in the catalog or drag & drop it in the bathroom.
After adding a product from the catalog, the product remains in the selected state, so that the manipulator options (like Elevate, Move, Rotate, etc) can be used. Also, the editing toolbar (like Edit, Position, Duplicate and Delete) appears for the inserted product on closing the catalog browser, as shown below:
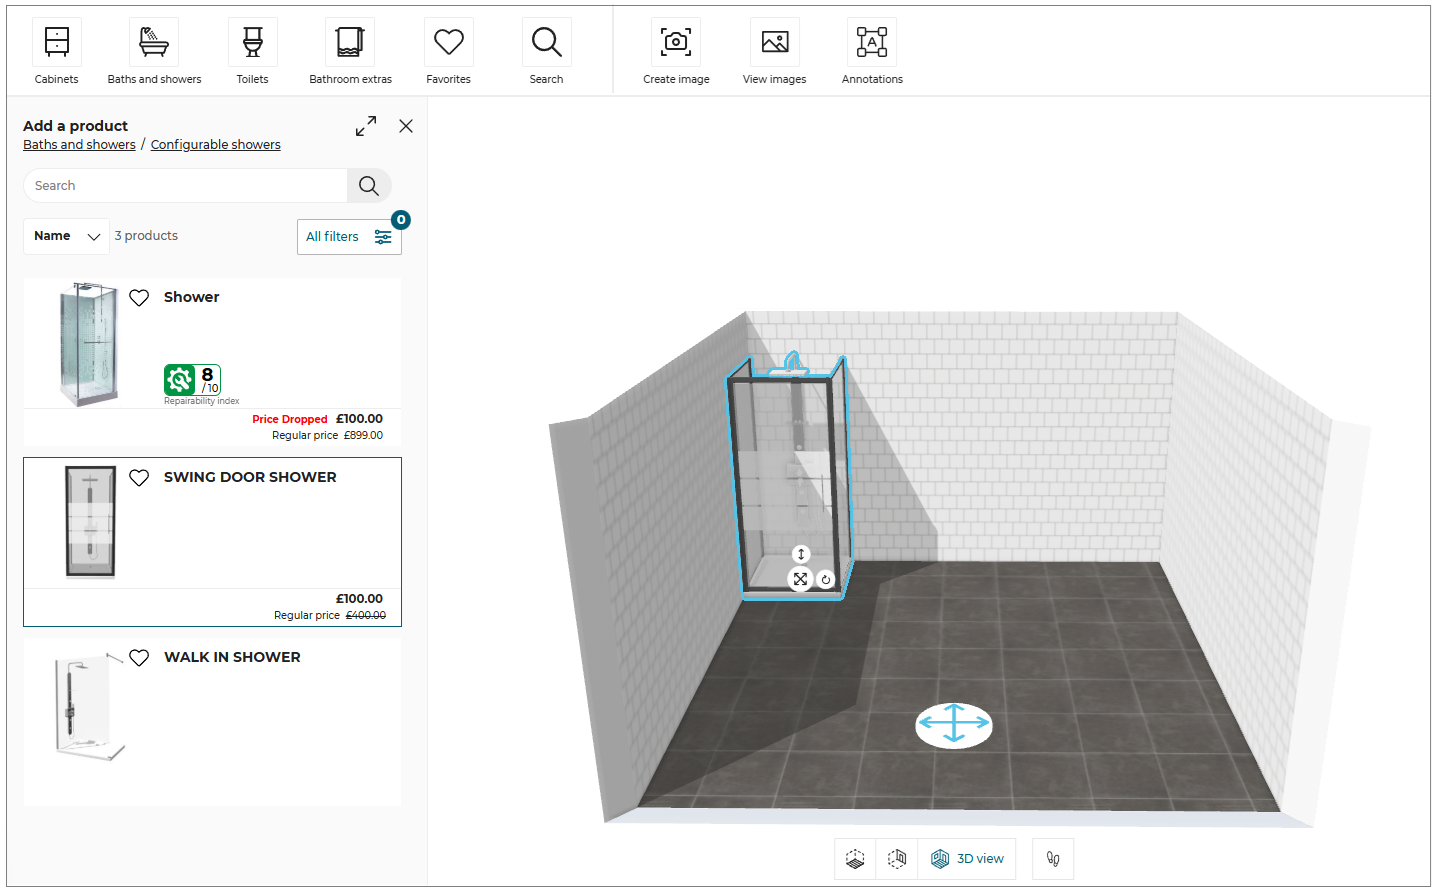
The Repairability Index of the product is displayed in product catalog and product sheet.
The user can insert as many products as they want until there is no more space in the room. When there is no space available, a pop in is displayed in order to inform the user that there is no space available in the current room.
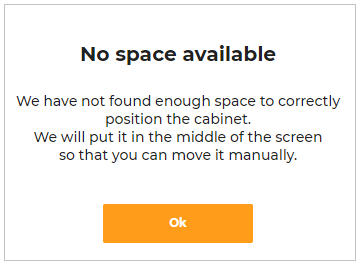
If there is no space available in the bathroom, the product is still inserted in the center of the room automatically. You can position the products manually by dragging them to the bathroom.
Editing Products
Multiple Product Selection
To select multiple products press Ctrl button and select products.
After selecting multiple products, you can perform following operations:
- Move the products using manipulators.
- Duplicate
- Delete
- Edit: You can edit multiple products simultaneously if the selected products shares the same parameter to edit.

- Position :
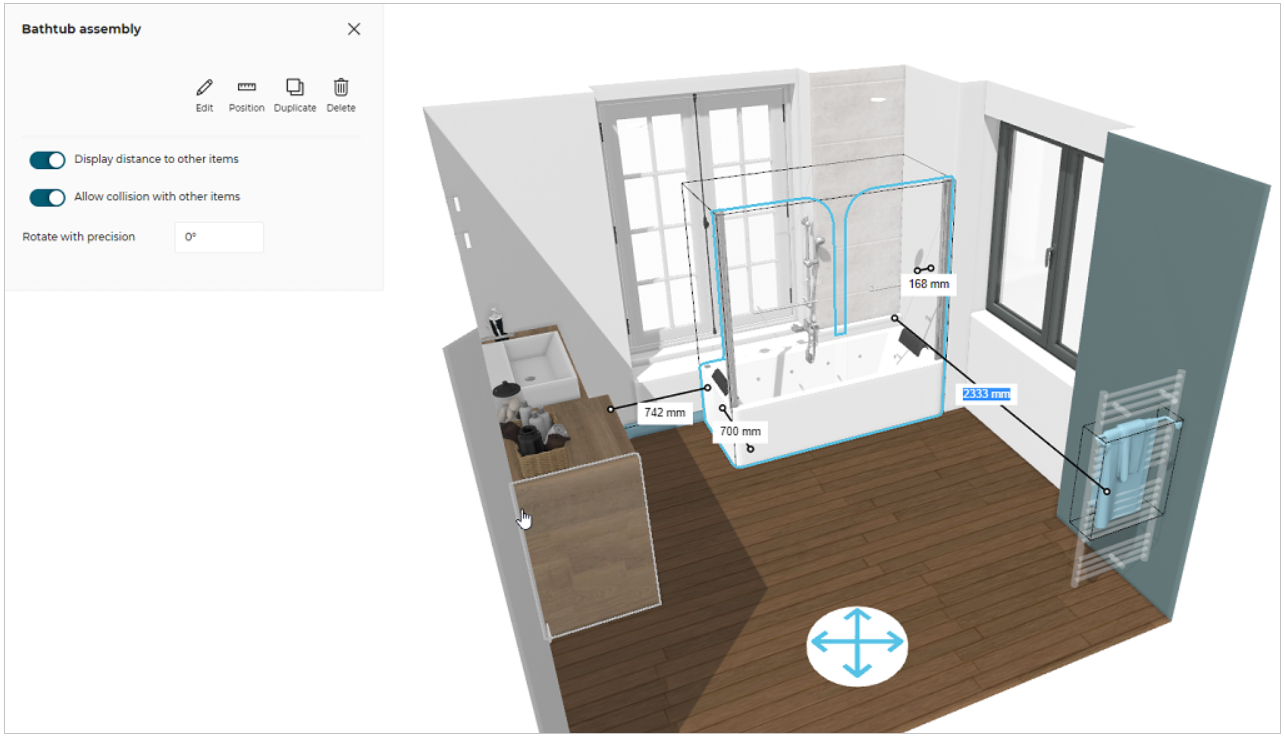
The Position option allows you to check the distance of the selected product from other products and walls in the planner and modify it accordingly.
- Click the Position
 icon.
icon.
When using the Position option for the first time, the window showing message Position tem pop in, as shown below:
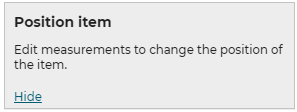
To hide the tooltip window, click Hide option or click outside the tooltip window.
To edit the distance:
- Click the value of the measurement to modify the distance as required, as shown below:
Ungroup Product Set
You can ungroup a grouped set of products, to Edit, Position, Replace, Duplicate, or Delete the products separately.
To Ungroup the set of products:
- Click the product set, to open the property panel, as shown below:
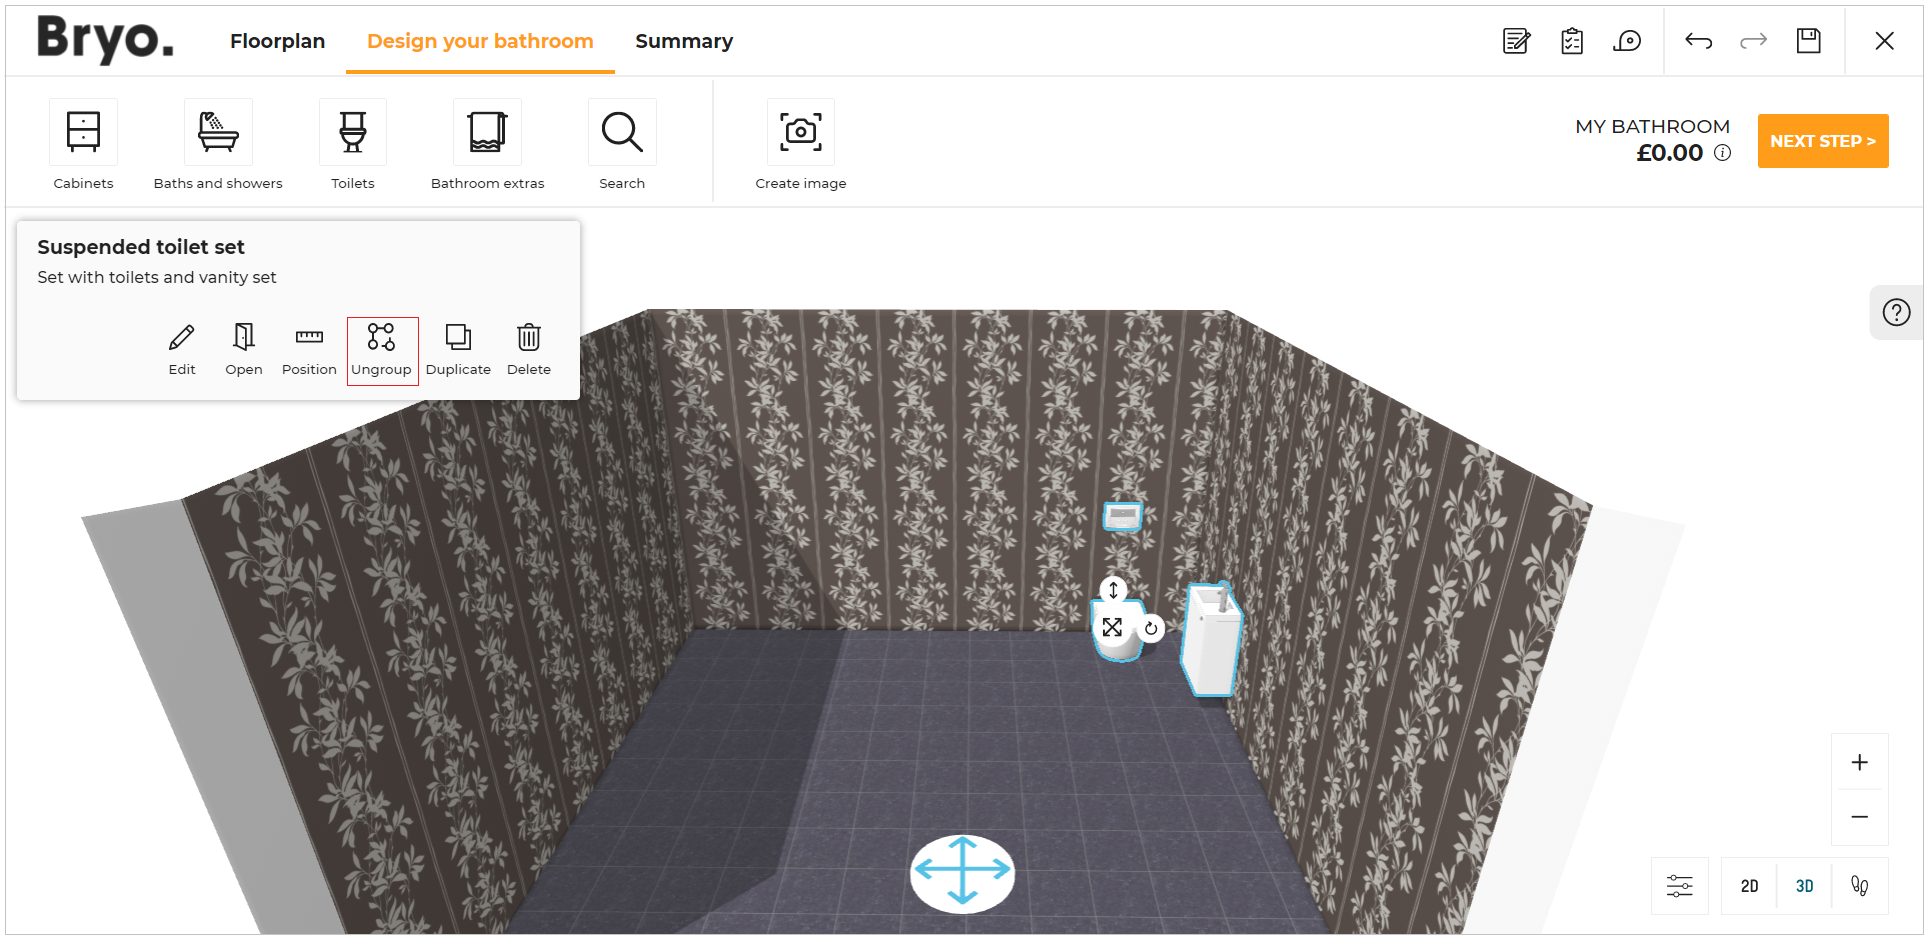
- Select the Ungroup option from the panel, to ungroup the set of products.
A popup message to notify Products have been ungrouped appears, once the product set is ungrouped.
Once the product set is ungrouped, you cannot group the products except Undo ungroup operation.
Empty the Room
You can delete all the products at once and empty the room.
- Change the view mode of the planner to 2D view.
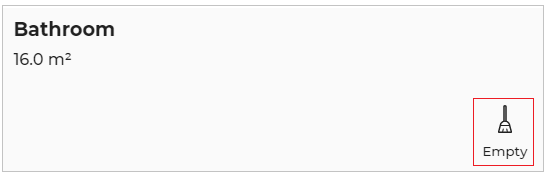
- Select the bathroom floor.
- Click the Empty option from the panel, as shown below:
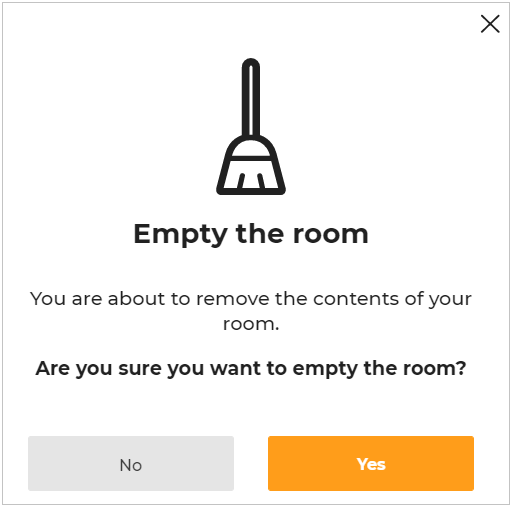
- Click the Yes button to continue.
You can undo the action by clicking the Undo icon.
Expired Product
If your project consists of expired product, you can replace or delete the product.
- Click the
 icon, the Help center is displayed, as shown below:

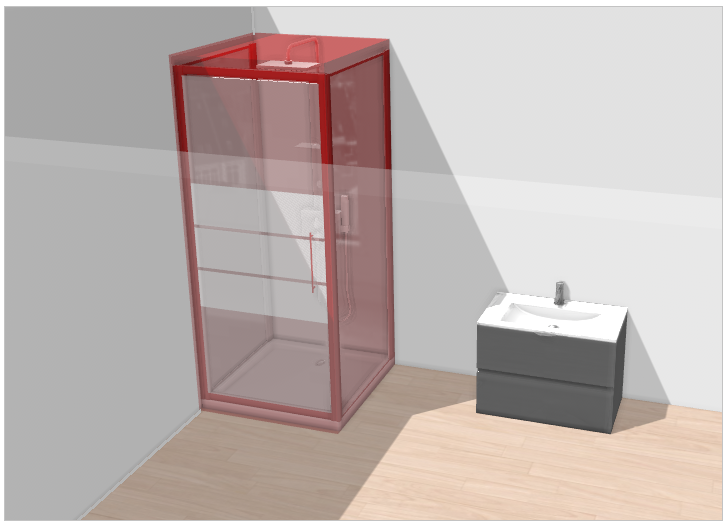
To locate the expired product in the project, click the Show in 3D option, the product is displayed, as shown below:
- To replace the expired product:
- Click the Replace button.
The Replace an expired product pop-up is displayed, as shown below:
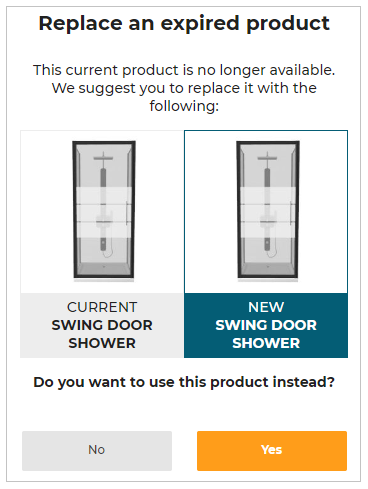
- Select the Yes option, to replace the product.
If there is no replacement possible for the expired product, the Price is not available is displayed for project price.
- To delete the expired product:
- Click the Delete button.
The confirmation pop-up message to delete the expired product is displayed, as shown below:
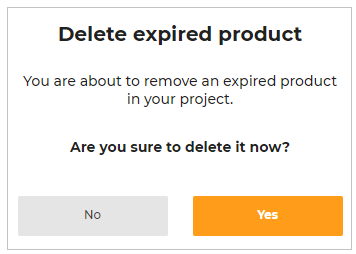
- Select the Yes option, to delete the expired product.
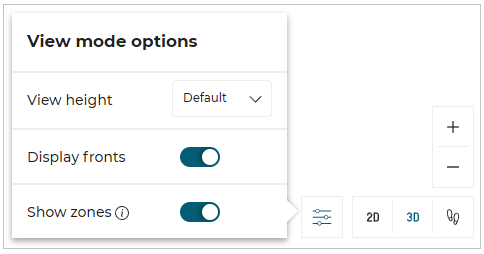
View mode options
- Click the
 icon to open the View mode options, as shown below:
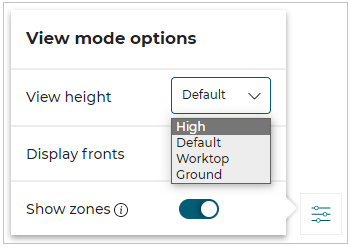
View height
To adjust the camera height, select the height from the available options.Display fronts
To hide/unhide the products inside the bathroom, toggle ON/OFF the Display fronts option.Show zones
It shows the electrical safety zones of bathtubs and shower products.
To hide/unhide the electrical safety zone, toggle ON/OFF the Safety zones option.
The safety zone of the shower is displayed, as shown below:
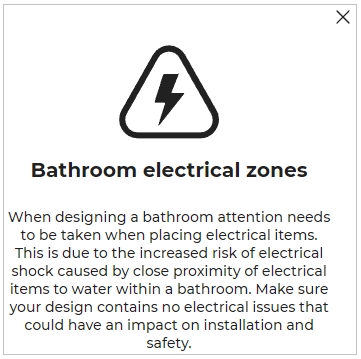
- Click the
 icon for bathroom safety information, as shown below:
- Click the
 icon to open the help center. The warning message informing the Position of electrical items is displayed, as shown below:
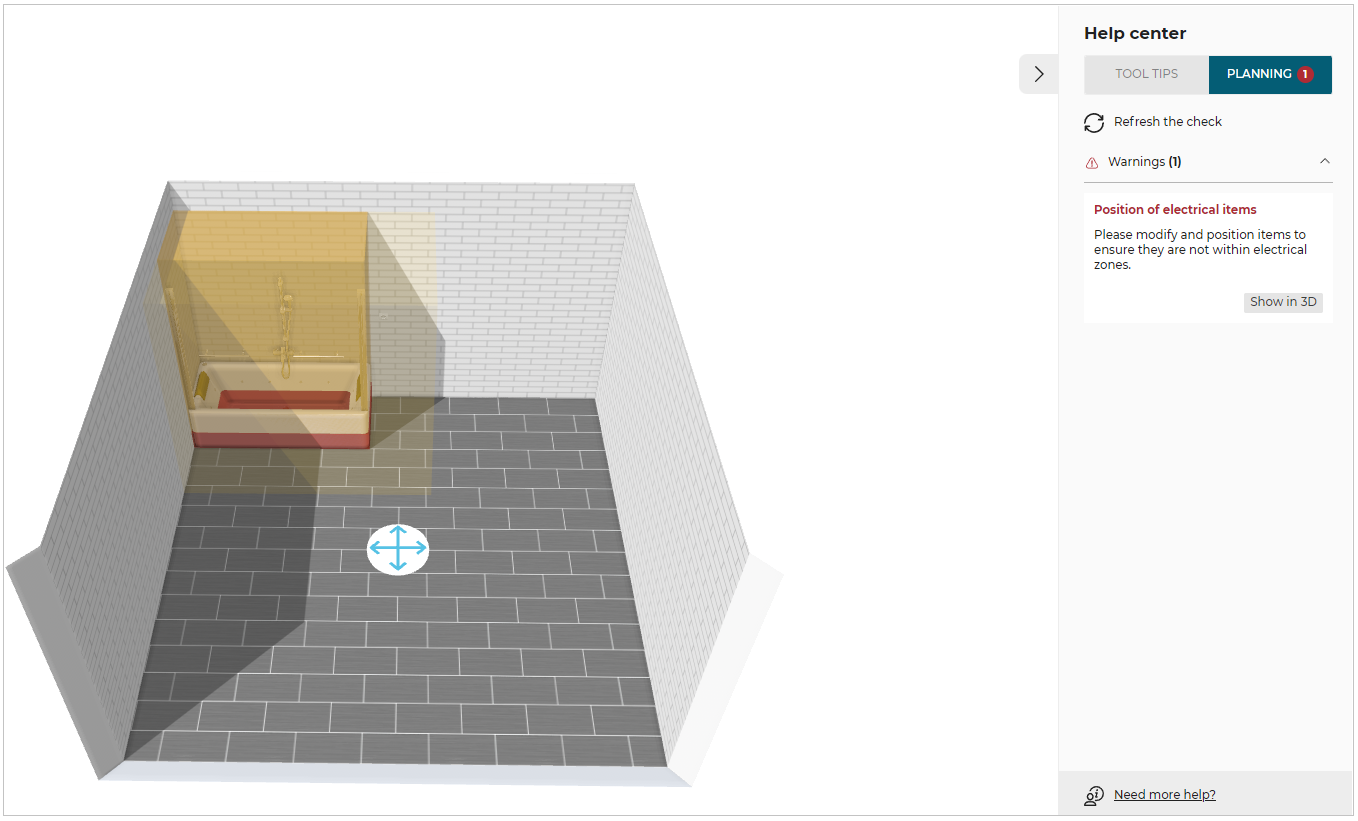
For more information, please refer to Electrical Safety Zone.
Navigation Panel
You can switch the room view to Floor view, Front view, 3D view, or First person view.
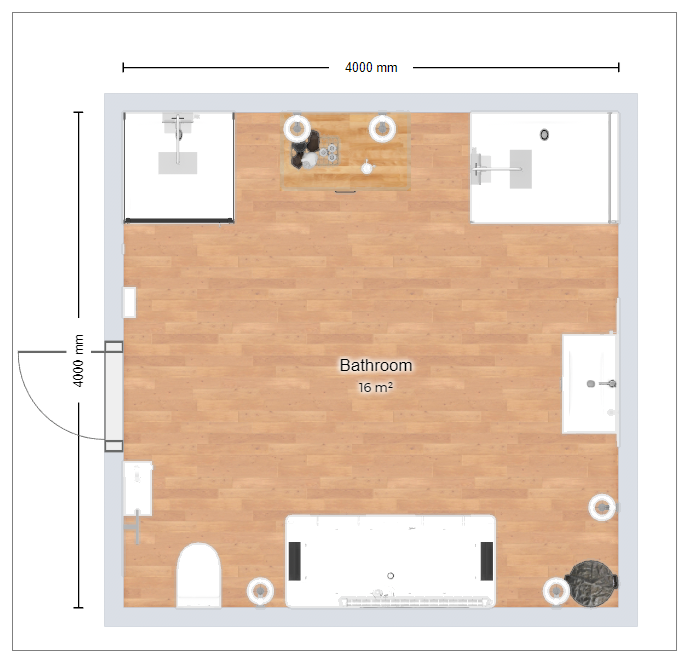
Floor view:
- Click the
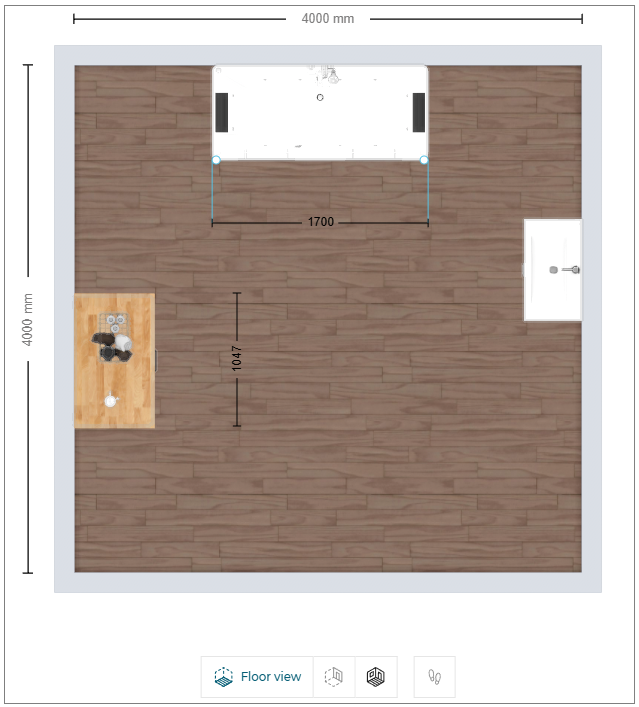
 icon in the navigation panel. The floor view is displayed, as shown below:
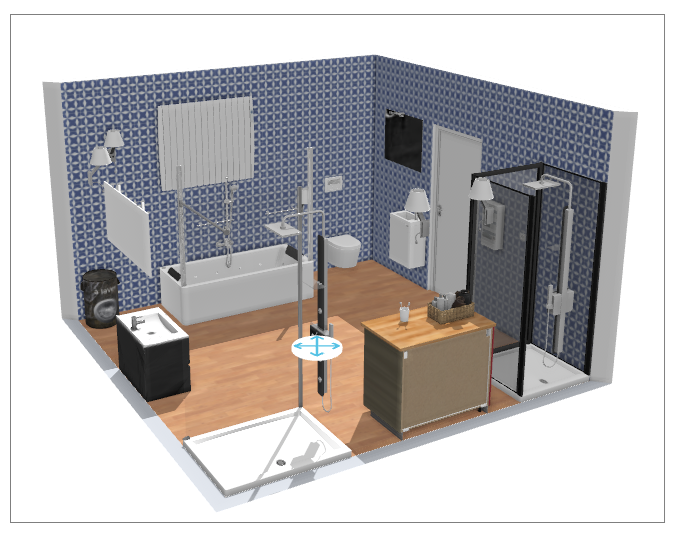
3D view:
- Click the
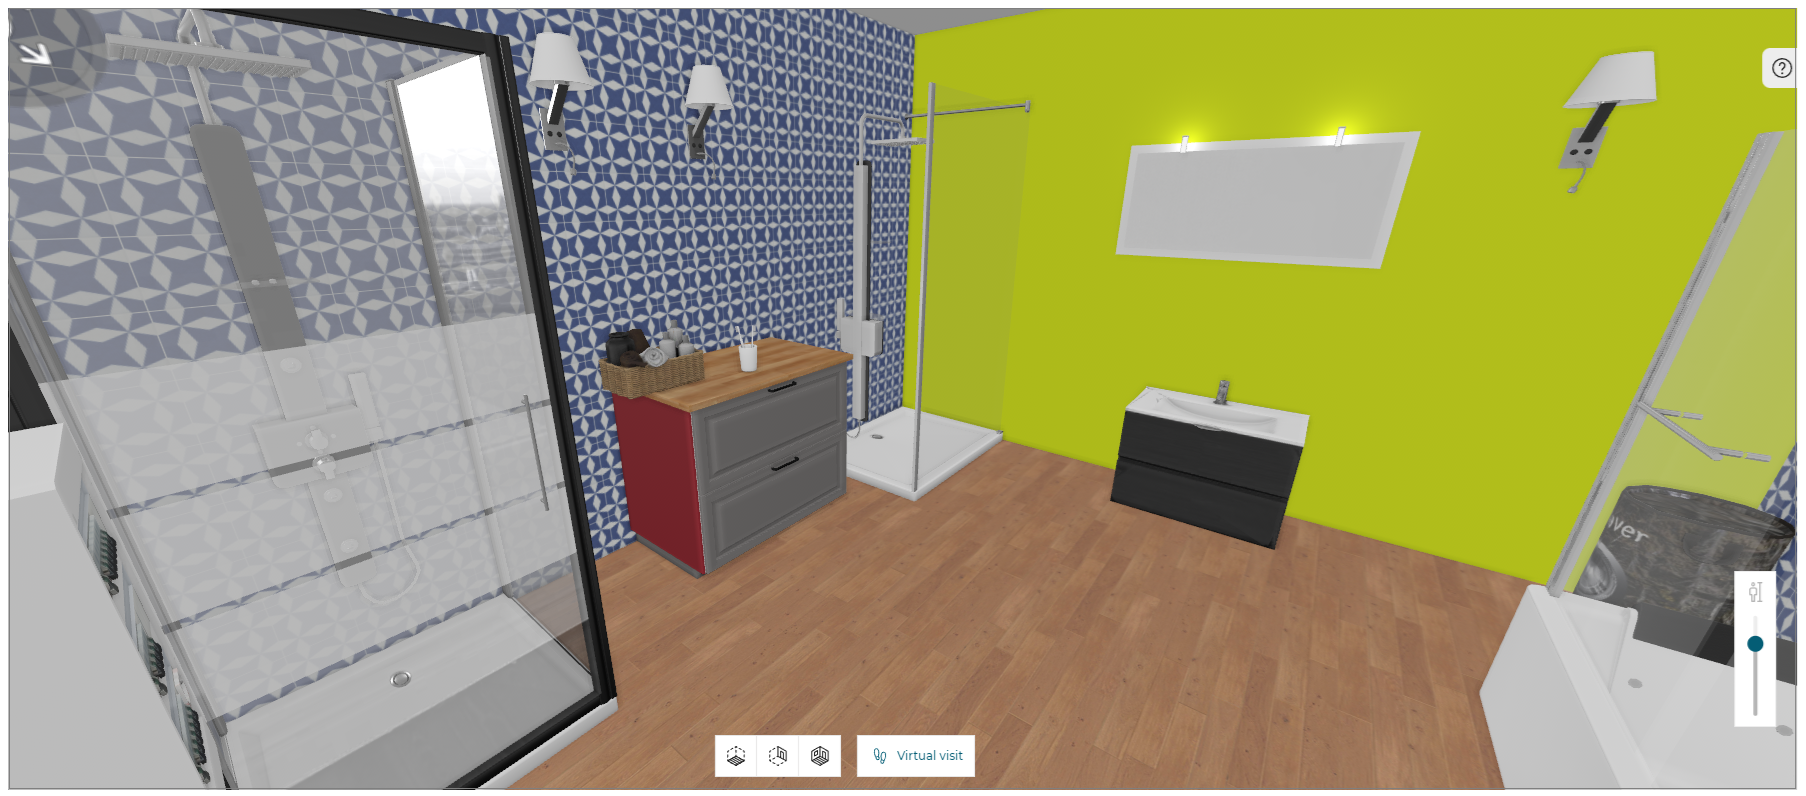
 icon in the navigation panel. The 3D view is displayed, as shown below:
Front view:
- Click the
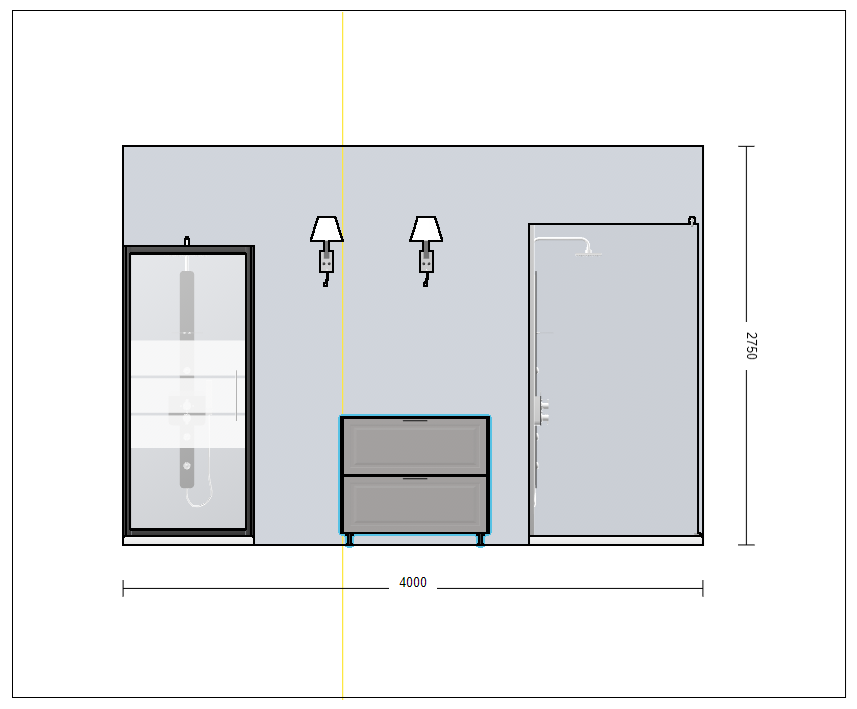
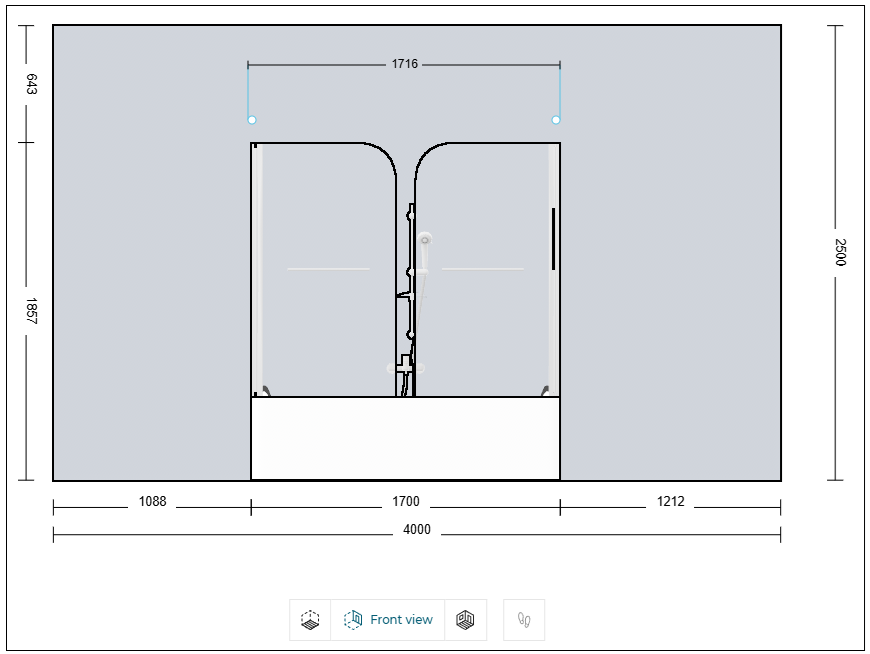
 icon in the navigation panel. The front view is displayed, as shown below:
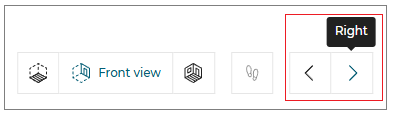
Next/Previous:
- Click the
 icon to display the wall immediately preceding the currently viewed wall, as shown below:

- Click the
 icon to display the wall immediately following the currently viewed wall, as shown below:
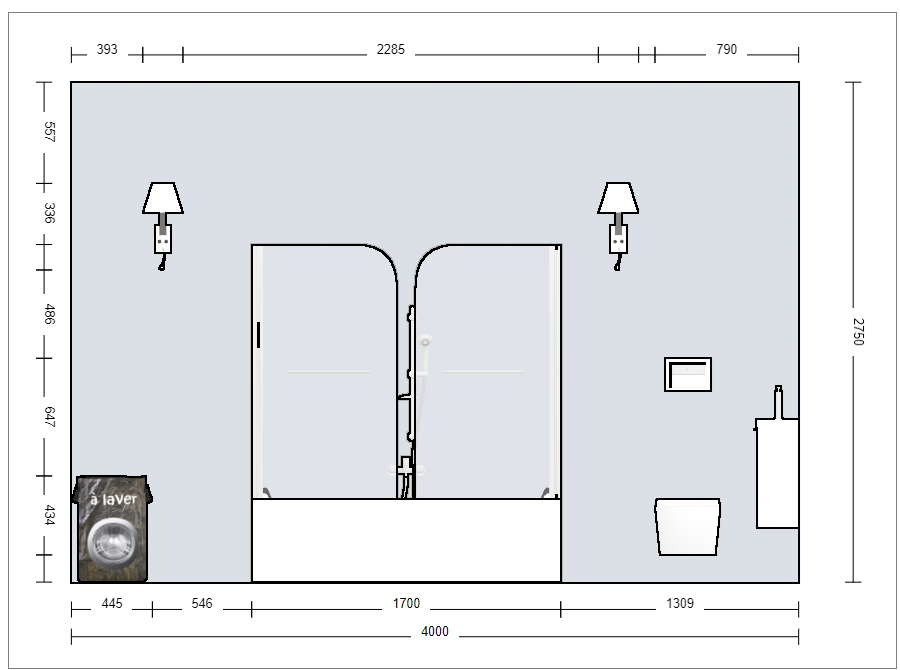
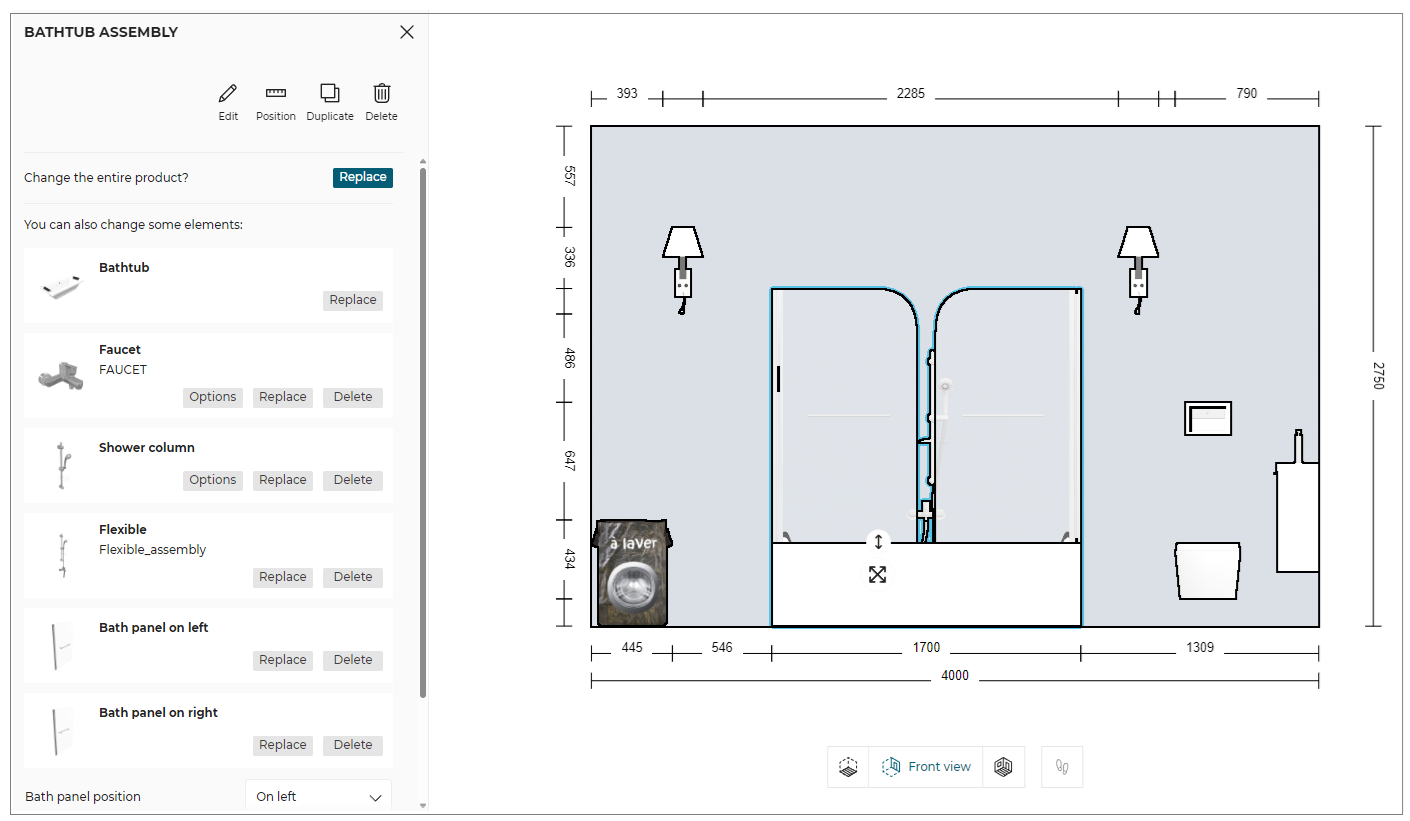
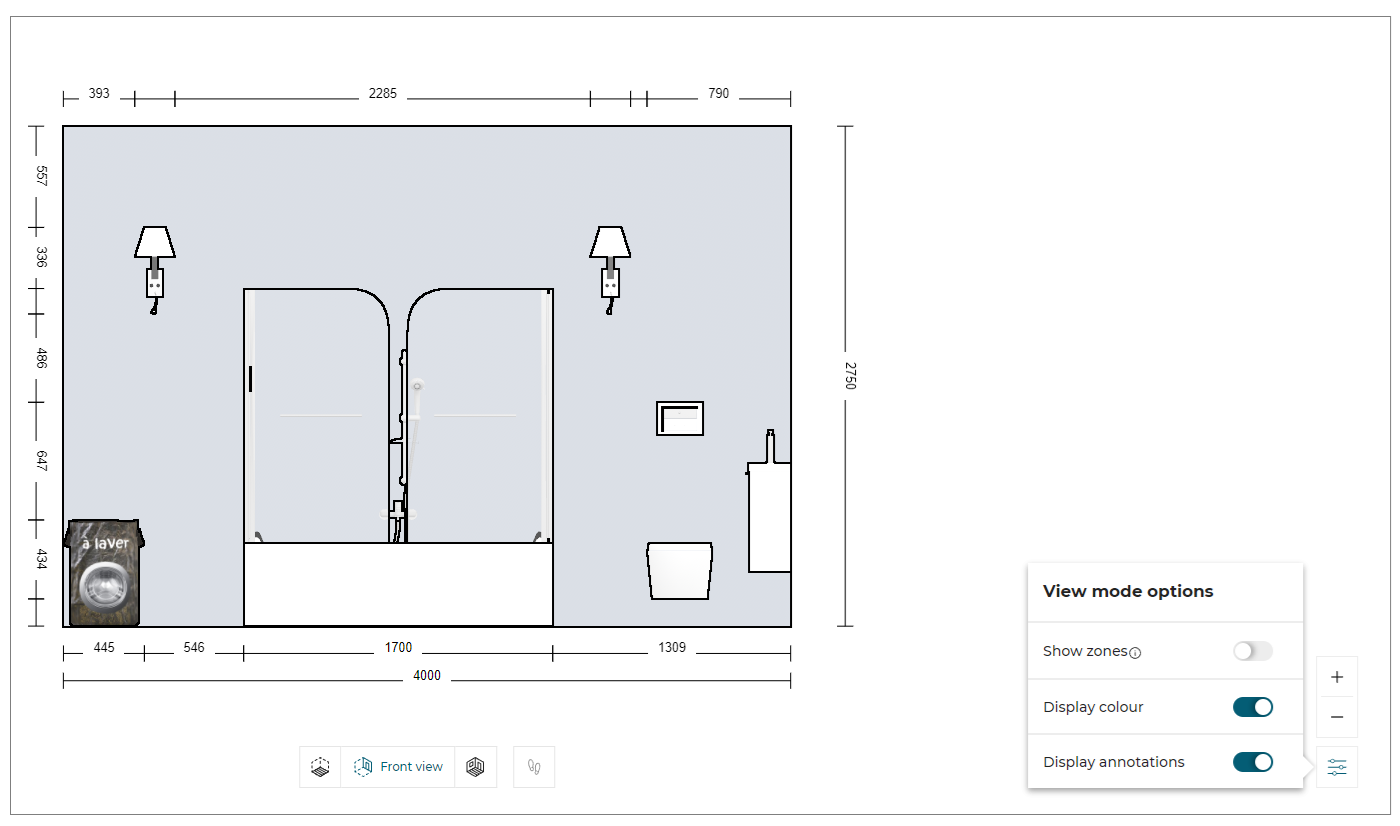
You can select and edit the products in front view, as shown below:
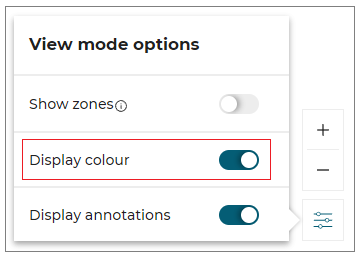
- Toggle ON the Display colour from the view mode options, the colour in front view is displayed, as shown below:
While dragging the products in front view, the snap line is displayed, as shown below:
When designing a bathroom in the front view, if there is no space available on the wall, then the product is inserted on another wall, and the notification to switch the view is displayed, as shown below:

The Front view option is disabled in 2D view and becomes active only when switched to 3D view.
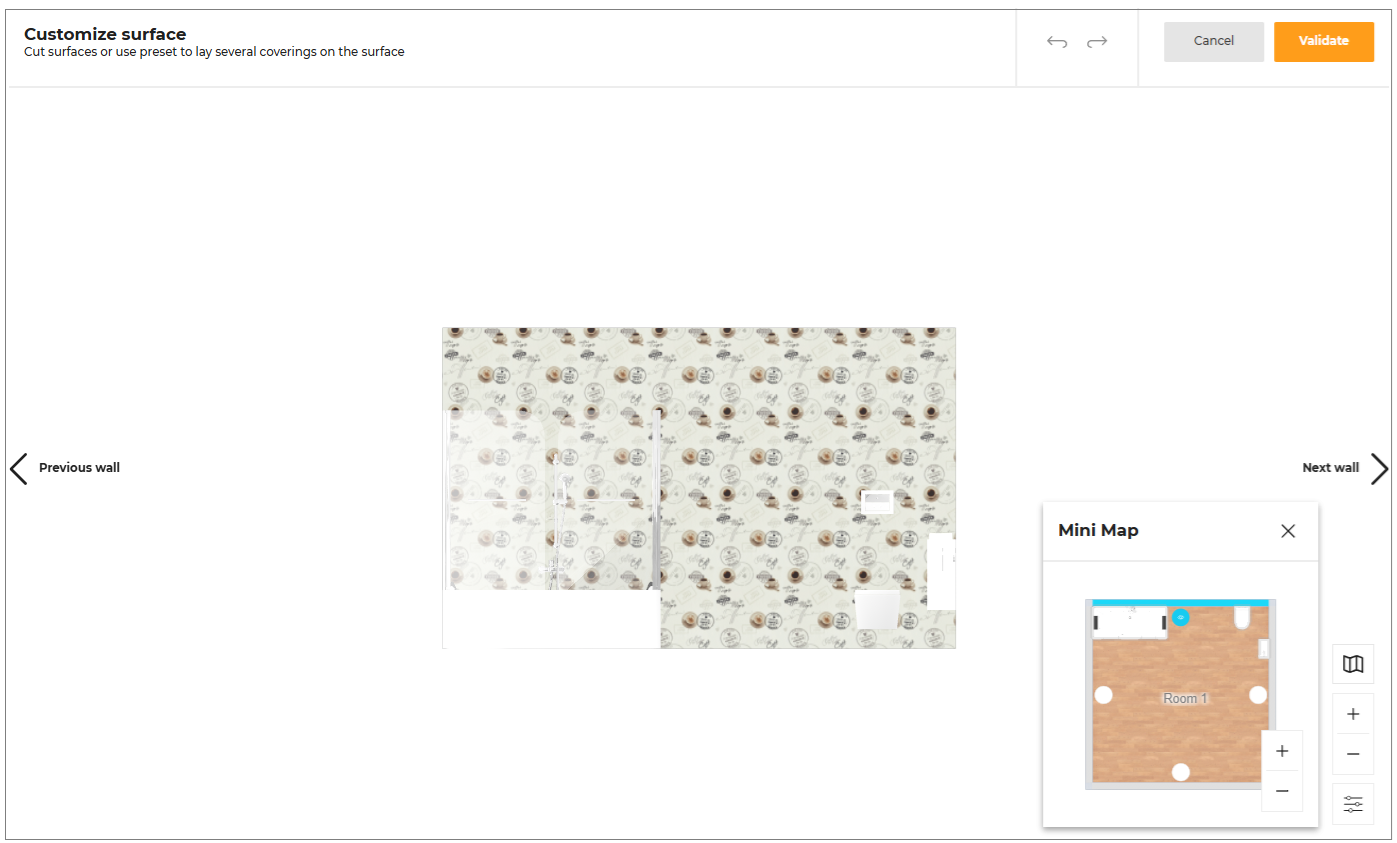
Mini Map
The mini-map feature enhances your design experience by providing a comprehensive overview of your entire project.
This tool allows you to easily switch between different walls in the Front Elevation view.
- Select the wall option to switch between walls, as shown below:
- Click the
 icon to close the mini map.
You can Zoom in or Zoom out the room in the mini map using the mouse scroll wheel.
First person view
- Click the
 icon in the navigation panel. The First person view is displayed, as shown below:
The First person view option is disabled in 2D view and becomes active only when switched to 3D view.
Annotations
You can add the annotations in front/floor view for the products in the planner.
- Click the
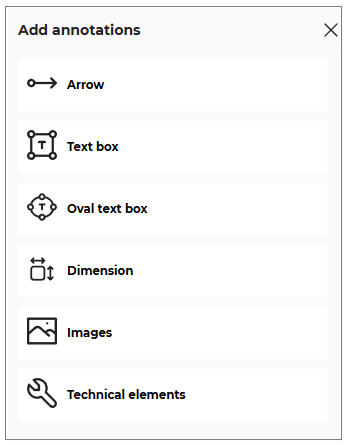
 icon, the options to add the annotations are displayed, as shown below:
- Click the
 icon, to select the Linear arrow option.
To add the linear arrow click in the planner, as shown below:
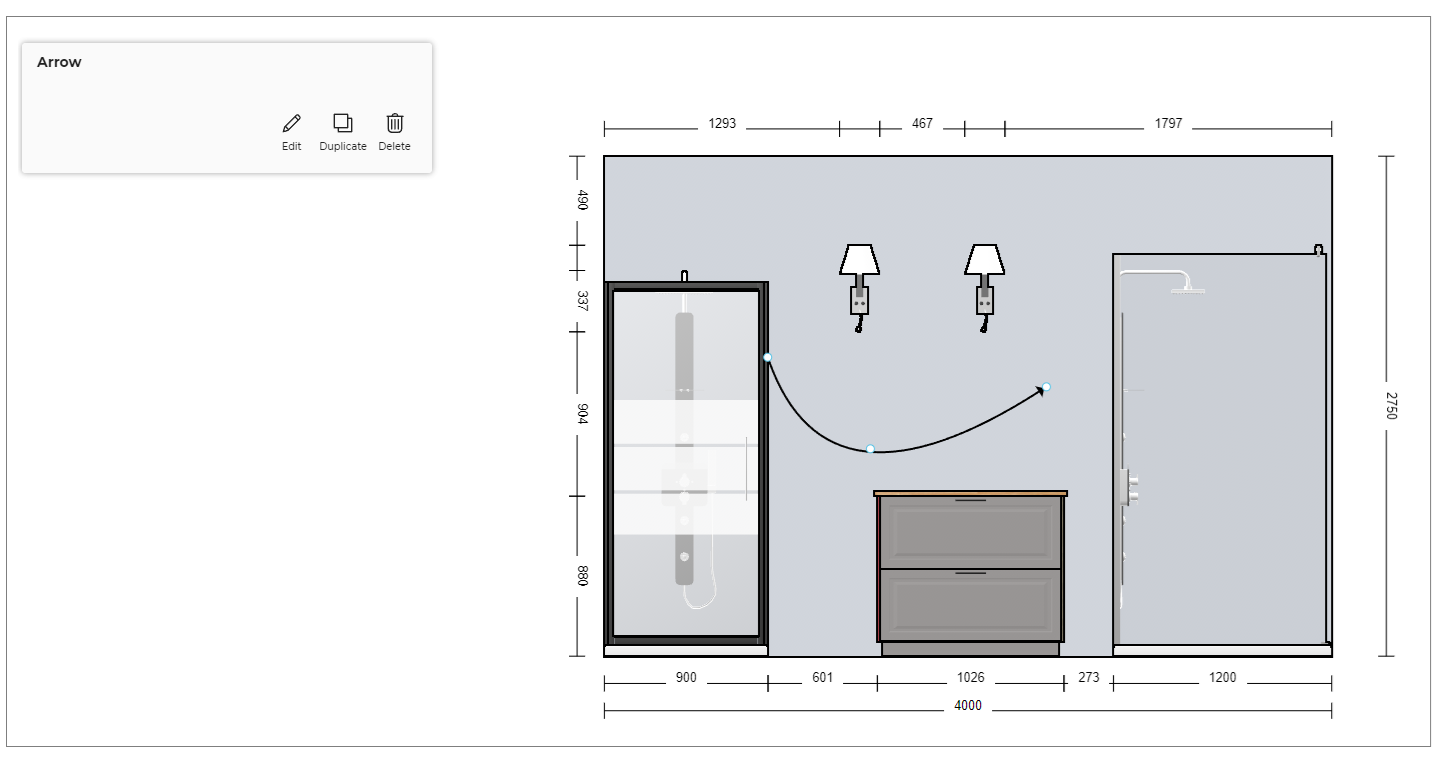
You can shape the arrow by selecting the points of the linear arrow.
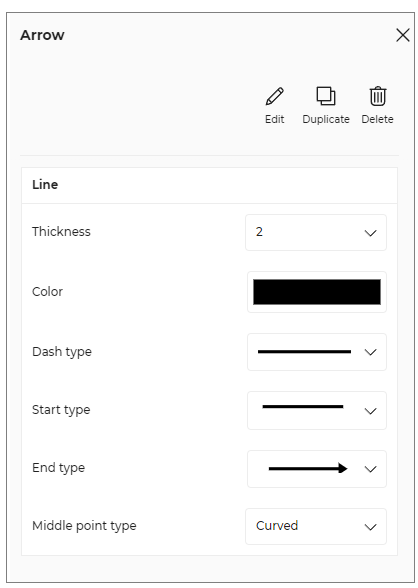
- Click the Edit button, the options to edit the linear arrow are displayed, as shown below:
- Click the
 icon, to add the annotation text.
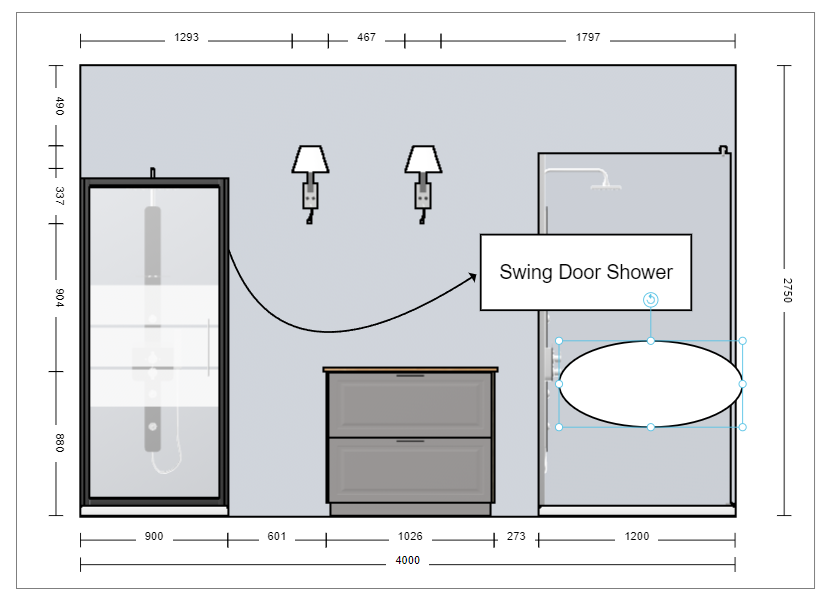
To add the annotation text click in the planner, as shown below:
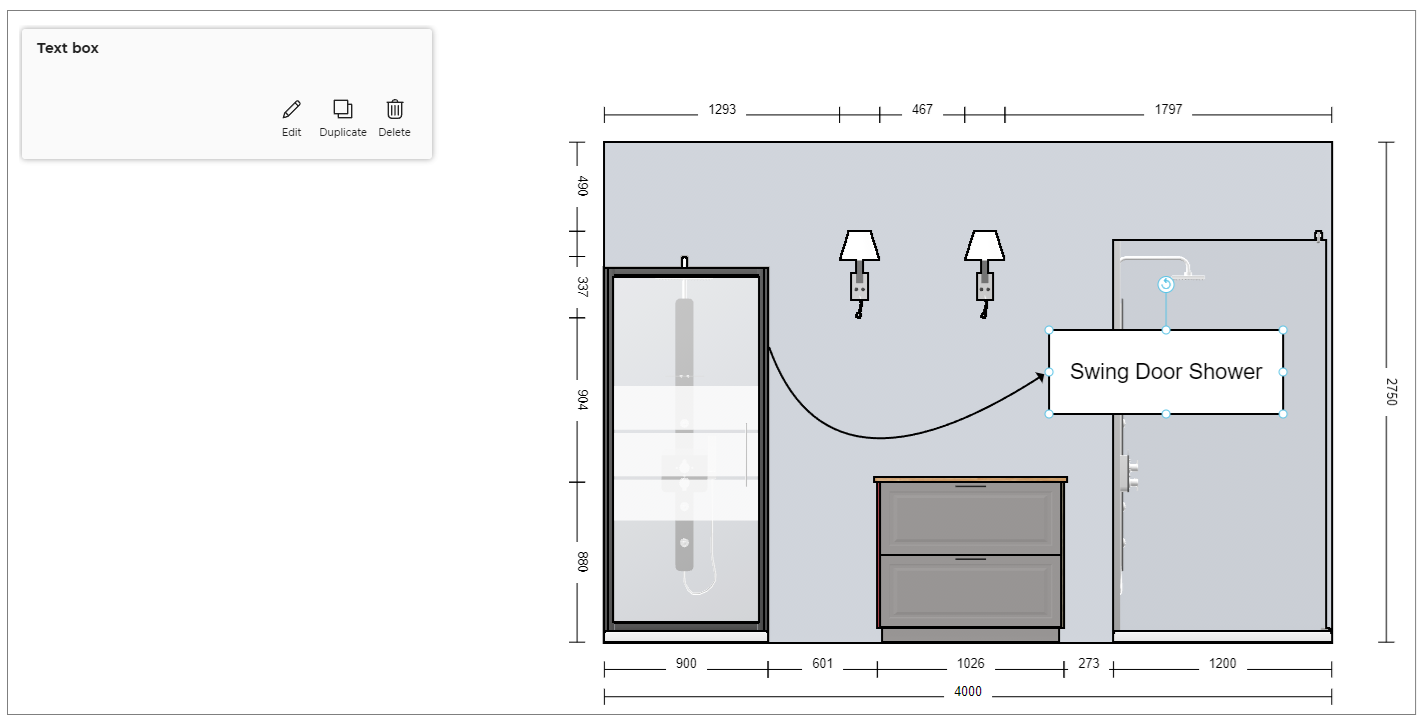
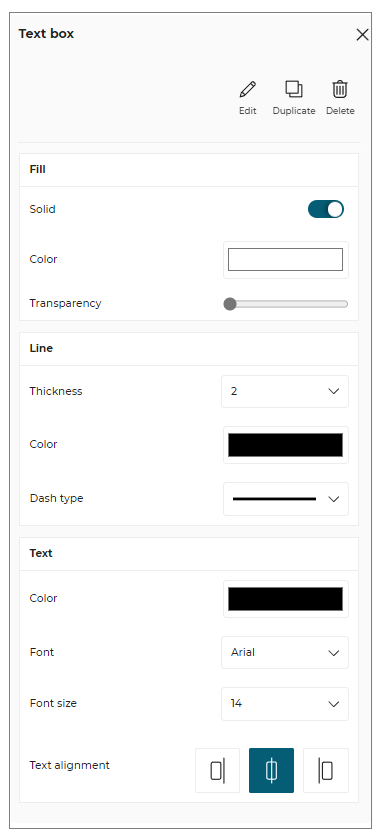
- Click the Edit button, the options to edit the text and text box are displayed, as shown below:
- Click the
 icon, to select the Oval Annotations Box option.
To add the oval annotation box click in the planner, as shown below:
You can shape the oval annotation box by selecting the points of the box.
- Click the
 icon, to select the Dimensions option.
To add the dimension annotation, click in the planner or drag from one point to other point to add dimension between two points, as shown below:
You can edit properties of annotations by selecting it and click the Edit button.
Images
You can upload the images in front/floor view in the planner.
- Click the
 icon to upload the image file.
The uploaded image is displayed, as shown below:
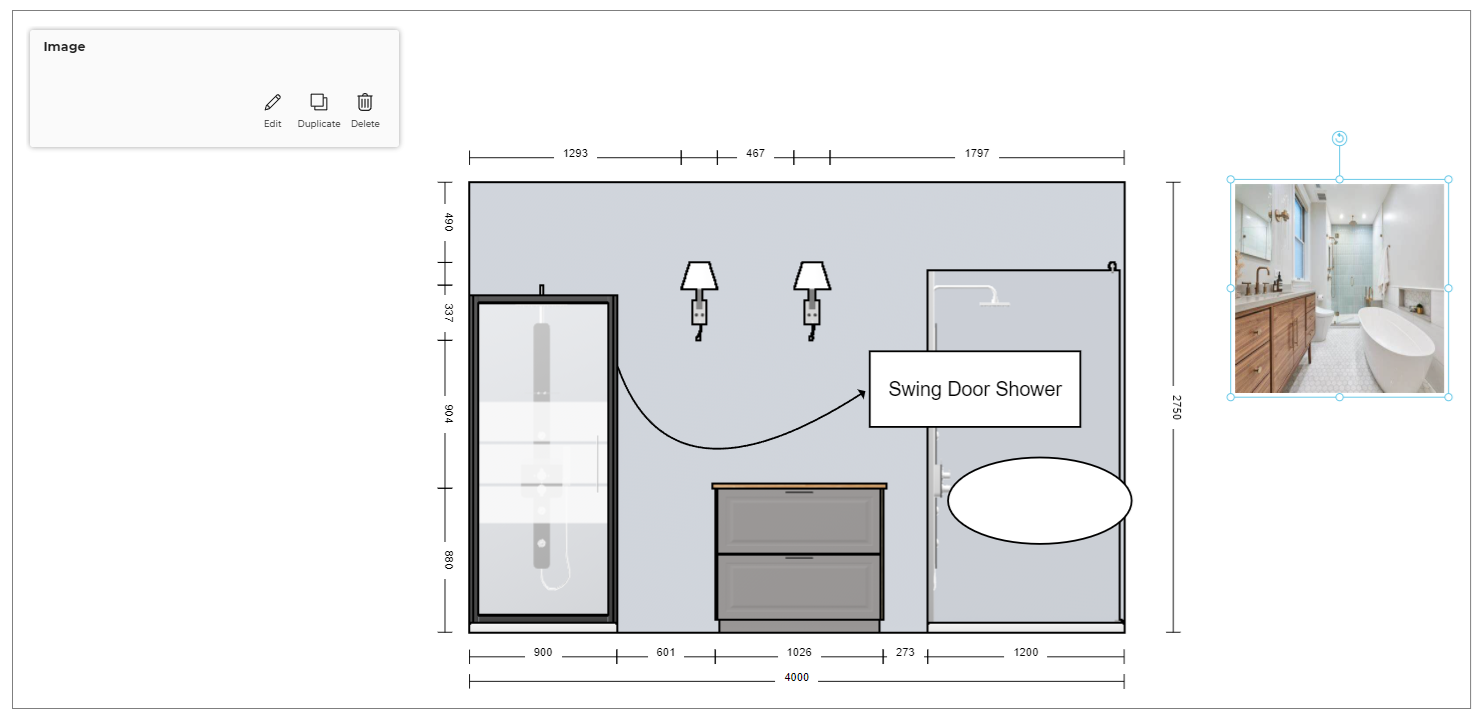
You can shape the image by selecting the points of the image.
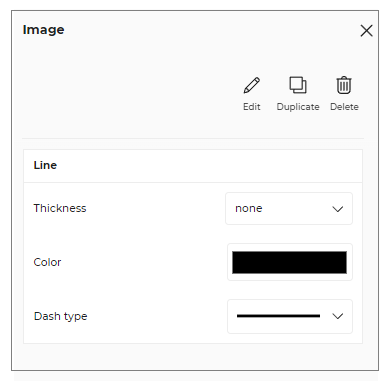
- Click the Edit button, the options to edit the image are displayed, as shown below:
- You can upload the images in .png, .jpeg, or jpg file format.
- The Save your project window appears if the project is not already saved.
Technical elements
You can add the symbols of the technical elements to the products in the planner.
- Click the
 icon, to add the technical element symbol.
The technical element symbol catalog is displayed, as shown below:
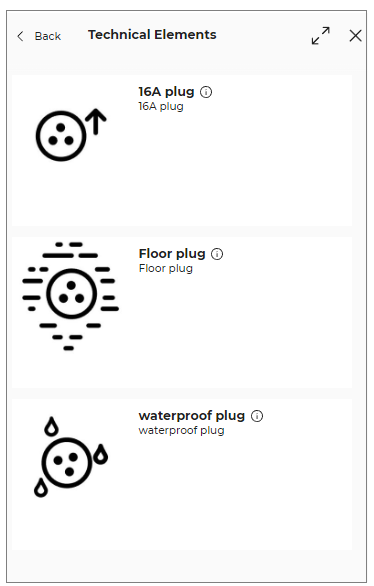
- Select the required symbol from the catalog and click in the planner, as shown below:
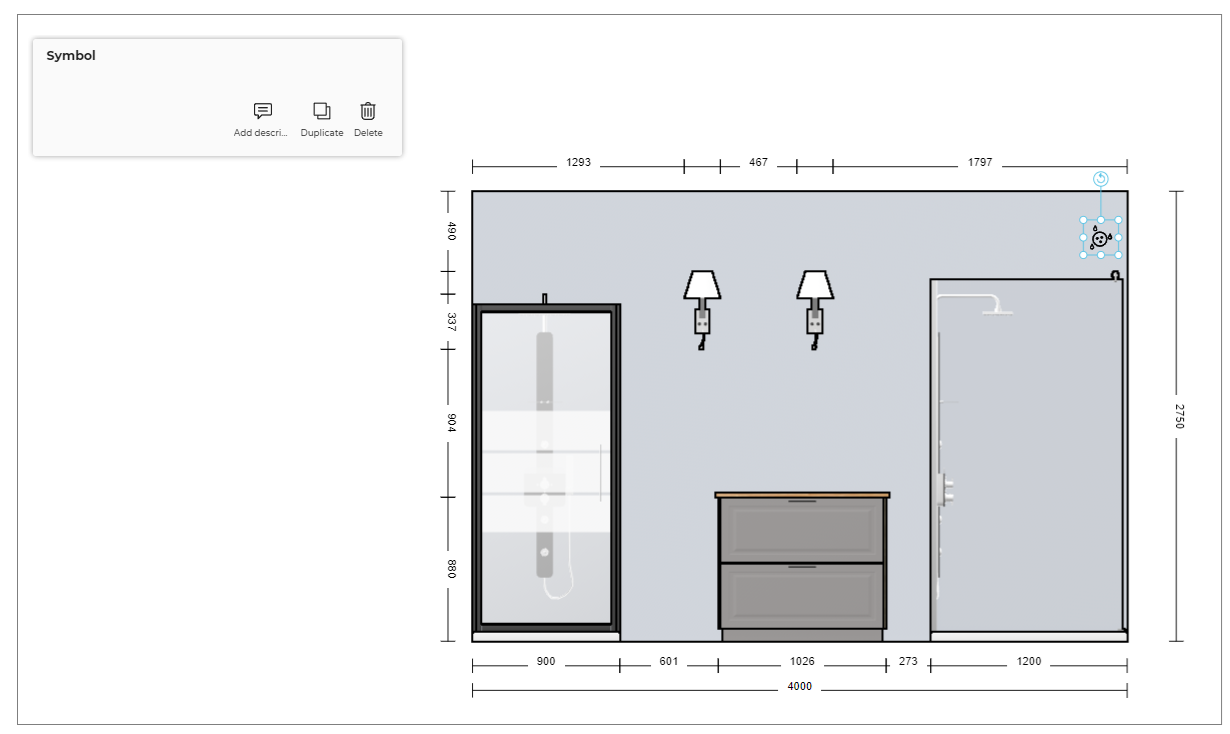
- Click the Add description option to add the description to the symbol, as shown below:

- Click on the Position option will show the measurement of annotation from the nearest object like wall/ ceiling or cabinet, as shown below:
You can modify the position of annotation by drag drop or by editing the measurement value.

Display Annotations
You can hide/show the annotations in Floor view.
- Click the
 icon, the View mode options is displayed, as shown below:
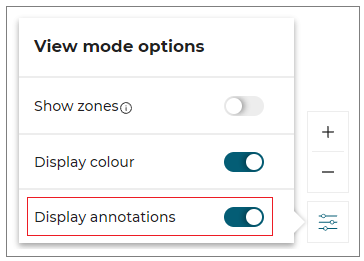
- Toggle ON/OFF the Display annotations option to hide/show the annotations.
The Display annotations option is available for the Floor view and Front view only.