Step 4 – Add the Products to a Catalog
When the product datasheets are created, you have to link them to a catalog unless they will not appear in Assembly Editor.
This means that you can add as components in Assembly Editor only the products that are registered in catalogs.
Product catalogs are a required link between a product and the Kitchen Planner. This catalog must belong to an application distribution to be visible in the Kitchen Planner. Below is an illustration of these relationships.

🚧 We will create a unique catalog to contain all the products of our sample cabinet. However, the best practice is to add only top-assemblies to the catalog.
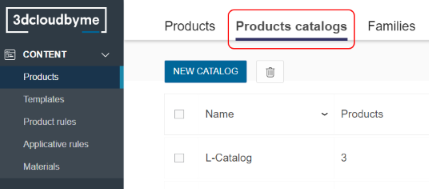
Click the Products catalogs tab and then, New catalog to start the proceeding.

General Information
➡️️ See Core Platform Concepts 🔗 in the Reference documentation for a definition of "Application distribution".

- Give a name to the catalog. This is an internal name; it will not be displayed to the customer.
- Select at least one Application distribution.
- Specify the period of viability of the catalog. Note that product dates overwrite catalog dates.
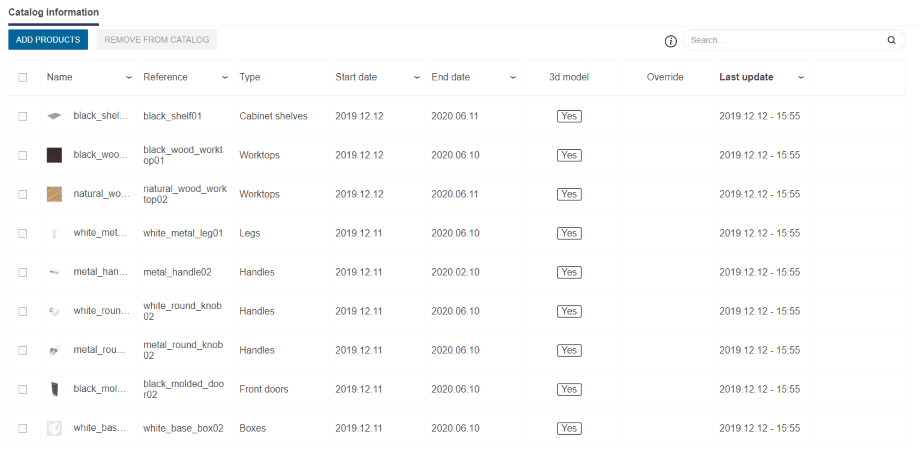
Catalog Information
Products are added to the catalog from this page. Even if the catalog is created, product cannot be linked to a catalog from the product pages.
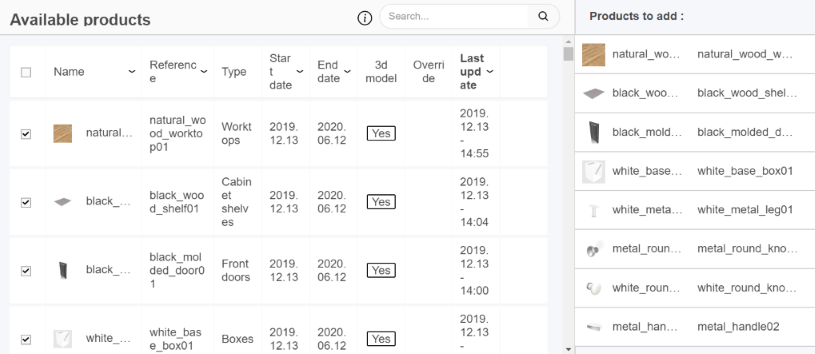
Click Add products to select the products to link to the catalog. You can add several products at a time.
🚧 For our sample cabinet, select all the products created at step 4.

Click Validate to add the product to the catalog. They are now listed in a table in the Catalog information area.

To remove a product from the catalog, select the corresponding check box and then, click Remove from catalog.
Save
Click Save to upload the catalog and its content in the 3DCloud storage. Click Products and then, Products catalogs to see the new product in the list (a delay is possible).


