Using Cabinets
This section explains the steps to add and edit cabinets in the bathroom.
Adding Cabinets
- Click the
 icon to see the available types of cabinet products, as shown below:
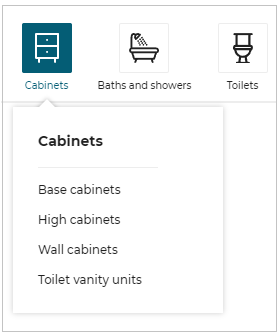
- Click the type of cabinet required, the catalog is displayed, as shown below:
Here, Base cabinets is clicked to filter the catalog and display only base cabinets, as shown below:
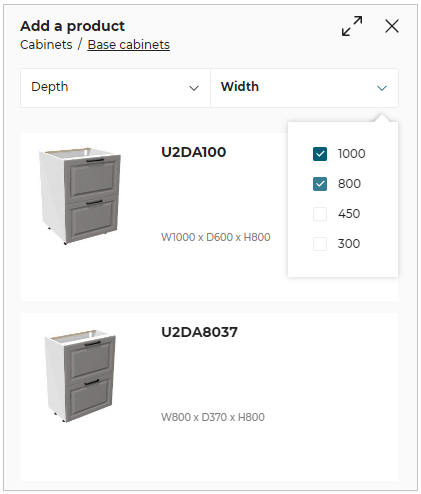
Further, cabinets can be filtered from the catalog list using the parameters in combo box.
Example: Depth to 600, Width to 1000.
- Select the cabinet from the catalog to add it to the bathroom.
- You can also add the Cabinets in the room by drag and drop them from the catalog.
- Due to minimum screen resolution constraints, each filter can contain a maximum of 20 values.
- If the filter contains 10 values or fewer, only one column is displayed.
- If the filter contains between 11 and 20 values, two columns are displayed with evenly spread values.
If one of the parameter of the cabinet (mentioned in insertStyleParamters) cannot attain with the current bathroom style value, then a pop-in is displayed mentioning the unavailability of the product, as shown below.
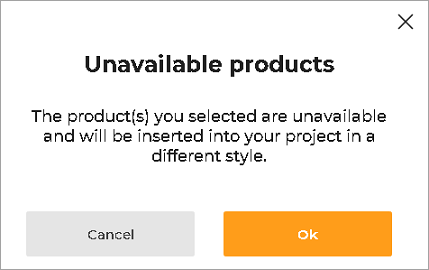
Click the Ok button to add the cabinet in different style.
Click the Cancel button to discard the product from adding to bathroom.
If the parameter of the cabinet (mentioned in insertStyleParamters) can attain the current bathroom style value, then the product is added to the bathroom.
This cabinet matches itself to the layout of the bathroom.
- Click the
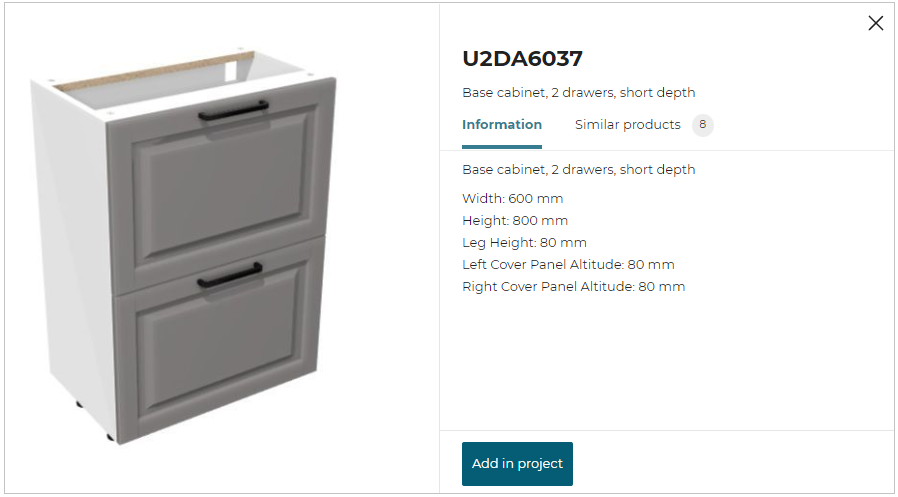
 icon for cabinet information, the information window is displayed, as shown below:
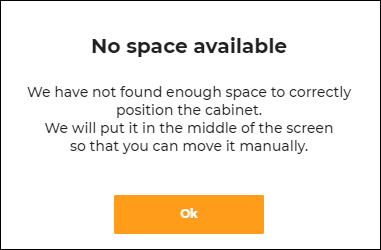
Whenever a room is full of cabinets and does not have enough space to correctly position the cabinets No space available pop-up appears, as shown below:
Editing Cabinets
Basic Editing Options
On selecting the cabinet, toolbar appears as shown below.

| Tool | Description |
|---|---|
 Edit Edit | Lists editing options. The editing options may vary with products. |
 Open Open | Displays sections inside the cabinet. |
 Position Position | Allows precise positioning, collision of items, and rotation with precision. |
 Duplicate Duplicate | Adds similar cabinet to the bathroom. |
 Delete Delete | Removes selected cabinet from the bathroom. |
Position Tool in Detail
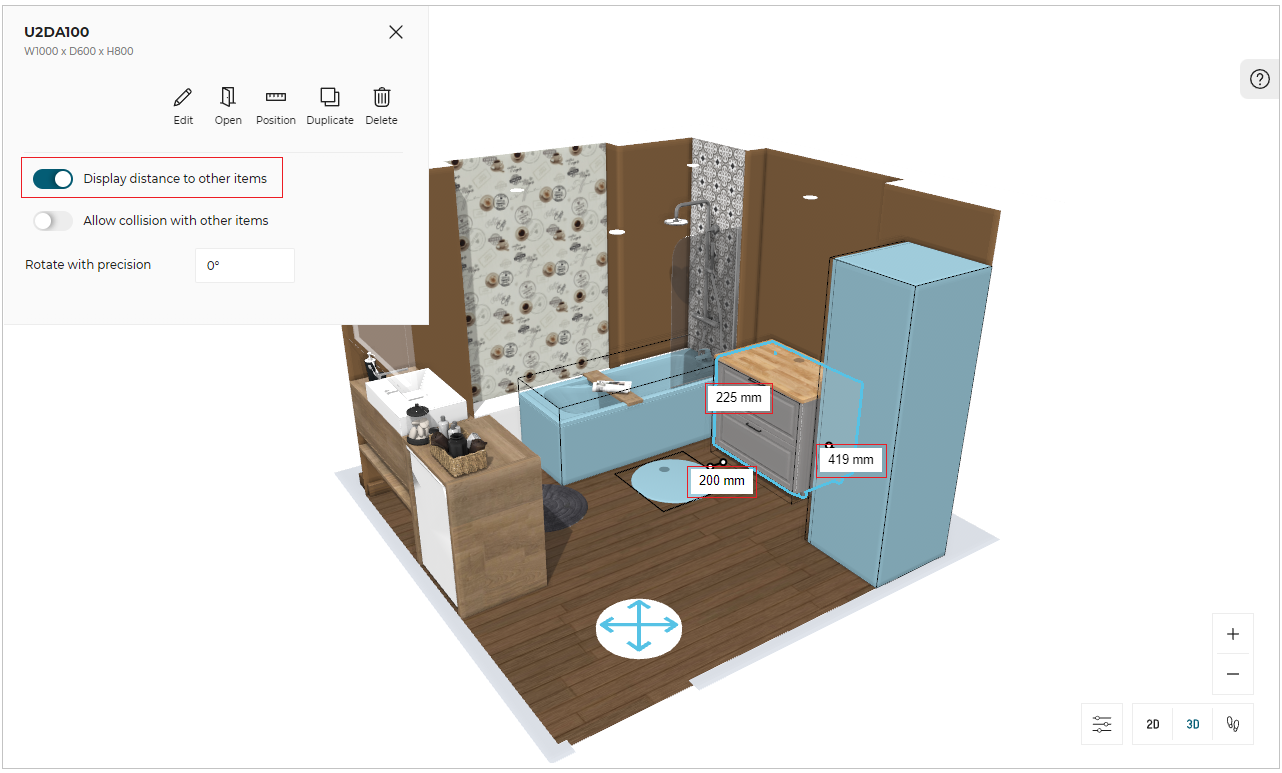
Precise Positioning: It provides the option to display and manipulate the distance from other items.
By turning the Display distance to other items toggle ON, the distance of the item is displayed, allowing to modify the distance.
You can manipulate distance/rotation manually with manipulators, turn the Display distance to other items OFF.
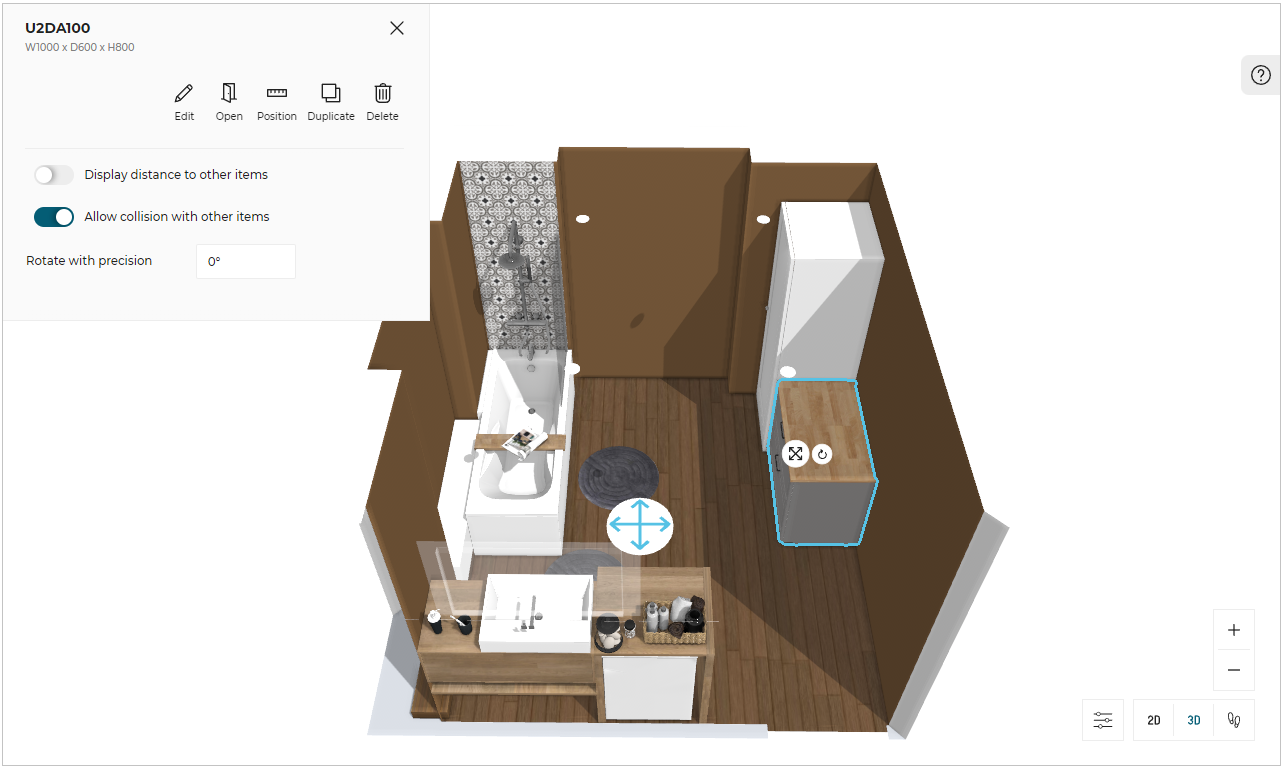
Collision: It allows the option to collide with other items.
To allow the collision with other items, turn ON the Display distance to other items as shown below:
- Rotate with Precision: It allows a precise rotation of item, and displays rotation angle after rotating item with manipulator.
An item can be precisely rotated by entering a precise rotation value in the degree box, and the item rotates clockwise from its position.
If position panel is open while rotating the item, the position panel hides during rotation and allows you to check for rotation value after completion of rotation.
On closing the position panel, and re-opening the position panel, the rotation value is set to zero. To undo previous operation, click the Undo button.

- The maximum allowed rotation of an item is 360°.
- The minimum allowed rotation of an item is -360°.
Editing Options
- Replace Entire Product:
It provides the option of similar products to replace the entire product with one cabinet of same width or multiple cabinets with the same width.

The list of available products is displayed in the catalog with the same depth and width as the selected product.
Click the Depth to select different depth.
However, the width cannot be modified when replacing a product.
when depth of new replaced cabinet is different than the old cabinet:
- If the depth of the new replaced cabinet is smaller than the depth of the old cabinet, then new replaced cabinet attach itself to the wall behind it i.e back-align.
- If the adjoining cabinets or the new replaced cabinet can move sideways and make space for side cover panels, then it automatically move, and side cover panels are applied to the adjoining cabinets (when depth is smaller) or new replaced cabinet (when depth is longer).
⚙️ Set up: Applicative Rules SearchFilterRule 🔗.
If theSearchFilterRulerule is added in the applicative rule and when the user replaces the product with the filter parameter having same value, then only those products are displayed in the catalog which has the same value for this parameter.
For example: When you replace the product with the filter parametercornerCabinetSidehaving the left value, then the products which have the same value (i.e. left) are displayed in the catalog.
Additional Editing Options
Front: Provides option to replace the front panels.

Handle: Provides option to replace the handles.

Plinth Option: Provides option to replace the legs/plinth of cabinets.

Wall Panel Option: Provides option to add, and customise the wall panel.

Wall Edge Strip: Provides option to add separation between worktop and the wall.

Suspension Rail: Eases the mounting of wall cabinets to the wall.

Worktop Option: Changes dimensions, replaces, deletes, and customizes the worktop.

Cover Panel: Provides option to change the right or left side cover of cabinets.

Drawer Light: Provides option to add light inside cabinet drawer.

Straight Filler: Fills in the gaps between furniture and the wall.

Deco Strip: Straight strips added on the bottom of wall cabinet on the front, left and right side.
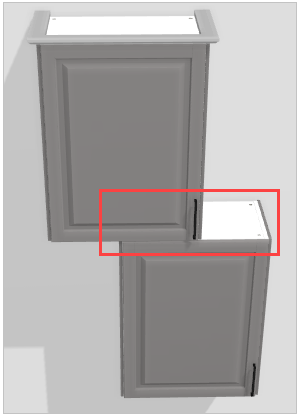
If a cabinet is placed below a cabinet, then the application deletes the deco strip of the above cabinet to avoid collision of cabinets.
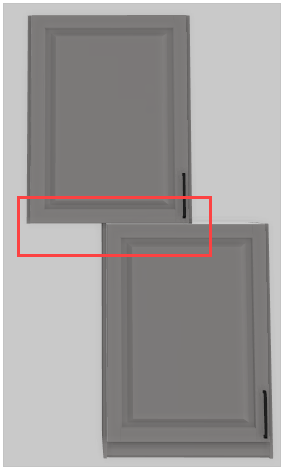
Cornice: Cornice is added on top of the wall cabinet on the front, left and right side.
If a wall or another cabinet is placed above a cabinet, then the application deletes the cornice of the below cabinet to avoid collision of cabinets or, cabinet and a wall.
Compose: Composes the cabinet as per requirement. See Composing a Cabinet for details.

Editing options for above listed features are:
Add: Adds item in cabinet.
Delete: Removes the item from cabinet.
Options: Provides additional options regarding dimensions, side and so.
Replace: Provides options to change particular item with a similar item.
⚙️ Set up: Applicative Rules ApplyAllRule 🔗 and ApplybathroomRule 🔗
If bothApplyAllRuleandApplybathroomRuleare added in the applicative rule, then while selecting the Apply to all option, by defaultApplybathroomRuleis applied.
- Apply: It changes the parameters for the selected product.
- Apply to all: It applies the changes to all the products without impacting the other parameters of the products.
- Apply to bathroom: It applies the changes to all the products and also impacts the other parameters of the products.
Apply and Apply to all options are only available when replacing the Handle, Front, Cover panels, or box of the cabinet.
However, these options are available when there is more than one cabinet in the bathroom.
Apply to the selected linear: It changes the feature for the selected linear.
Apply to all linears: It changes the feature for all the linears.
Apply to the selected linear and Apply to all linears option will only be available when replacing Worktop, Wall edge strip, Cornice, Deco strip or Plinth/Leg of the cabinet.
However, these options will be available when there is more than one linear in the bathroom.
Note: In case of wall panel, wall panel is applied to the selected cabinet or the selected linear, Apply and Apply to the selected linear options are available.
In case of linear with fillers for wall panel, options for Apply and Apply to the selected linear will be available, as fillers can have different wall panel.
Composing a Cabinet
Compose cabinet according to the user's needs.
- To add, modify, or delete cabinet features, click Compose.

Confirmation pop-up appears, as shown below:

- Click Yes to confirm.
Following panel is displayed.
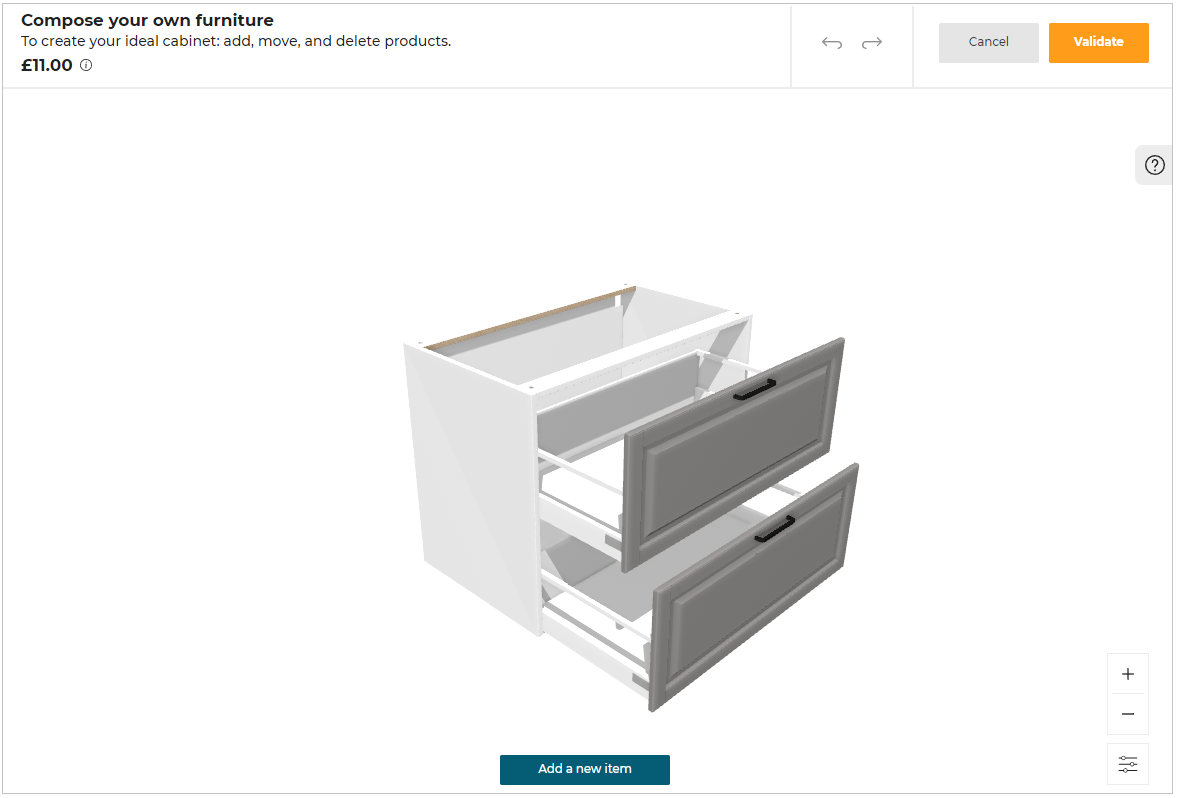
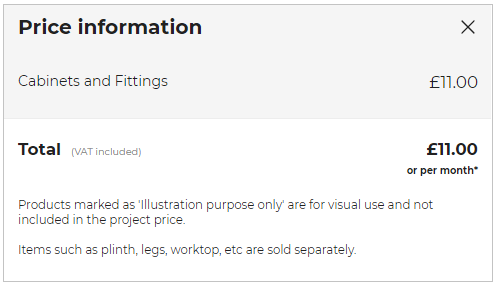
On clicking price information icon, price information pop-in will appear and display the details of the price.
⚙️ Set up: Application distribution parameter hideComposeProductPrice 🔗.
If the value ofhideComposeProductPricein the application distribution is set to true, then the price of the product is not displayed in the cabinet editor.
The default value of the parameter is set to false.
Conditions about cabinet pricing in cabinet editor:
| Product Type | Visibility | Price | Product Examples |
|---|---|---|---|
| Linears | Not Visible | Not Priced | Worktops, wall panels, wall edge strips. |
| Cover Panels | Not Visible | Not Priced | Back cover panels, side cover panels. |
| Legs | Not Visible | Not Priced | Cabinet legs. |
| Packs | Visible | Priced | Handles. |
| Lighting | Visible | Priced | Drawer lights, top lights.It does not include items such as transformers,cables. |
| Appliances | Visible | Priced | Sinks, taps. |
| Operations | Not Visible | Not Priced | Worktop cutouts, wall panel cutouts. |
- Appliances are selectable and can be replaced from the catalog browser, but they cannot be deleted in the cabinet editor.
- Operations are the products which have closed tags type "Operation".
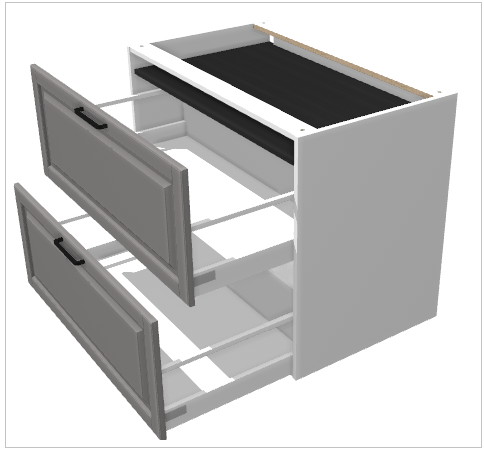
- Click the internal drawer to see options.
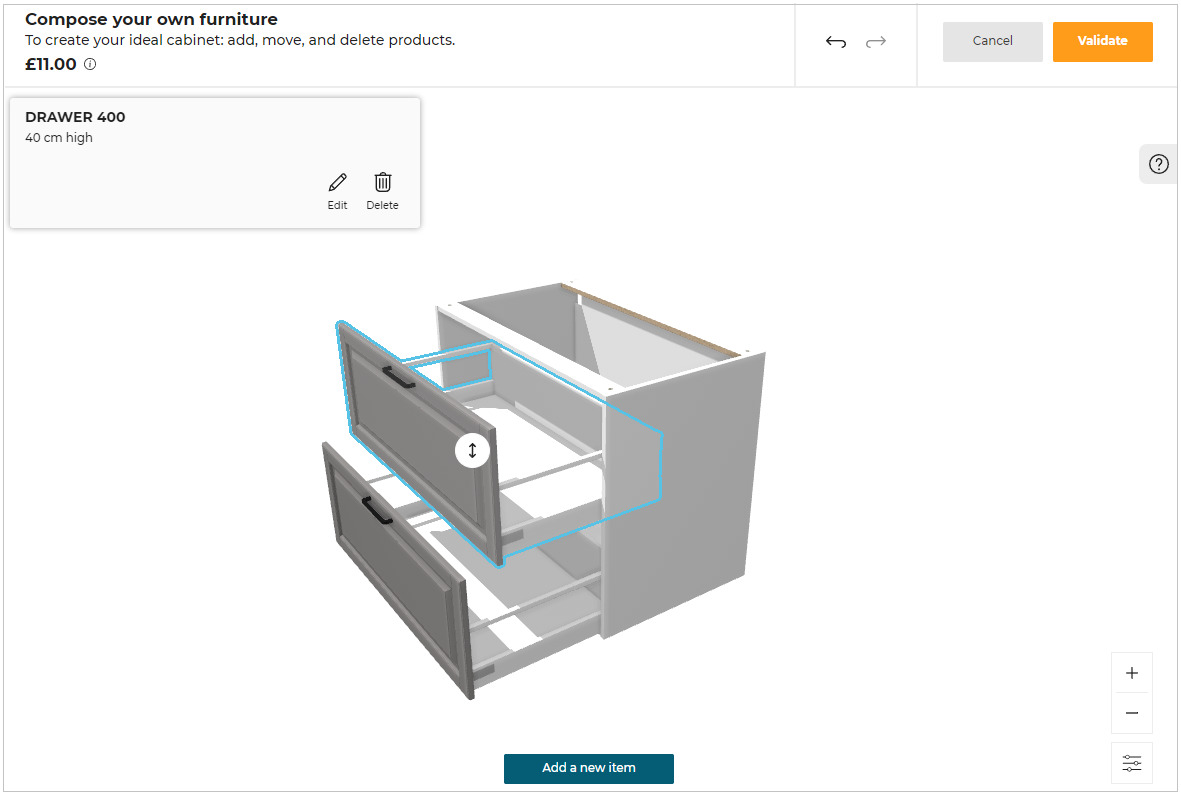
- Click Edit button. Editing options are displayed as shown below.
Different cabinets have different customizing options.
Some of the options are listed below:
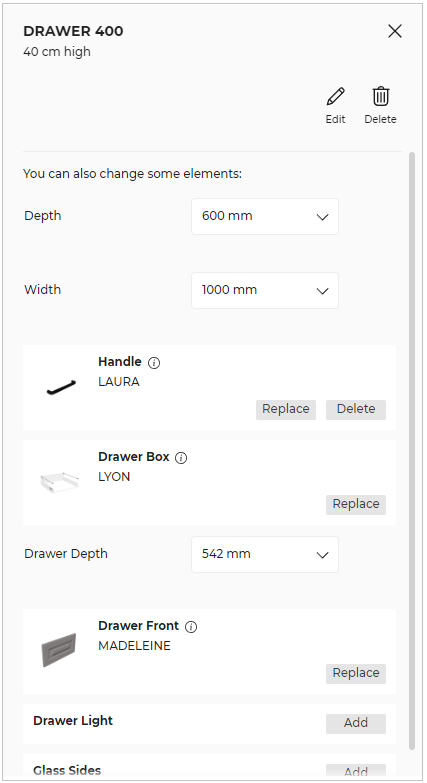
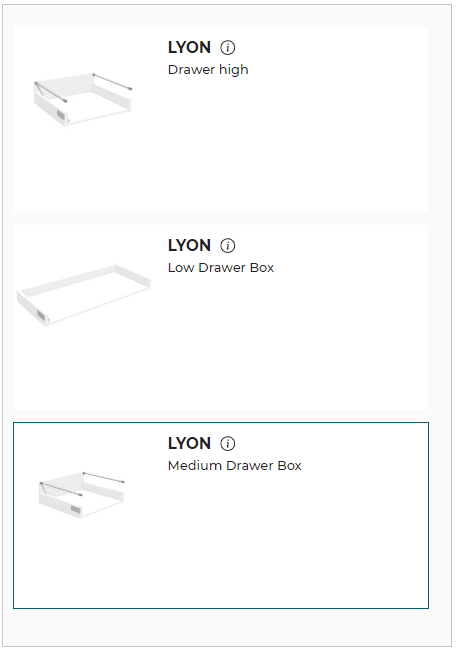
Click Replace to change it with another internal drawer.
Click the drawer to add it to cabinet
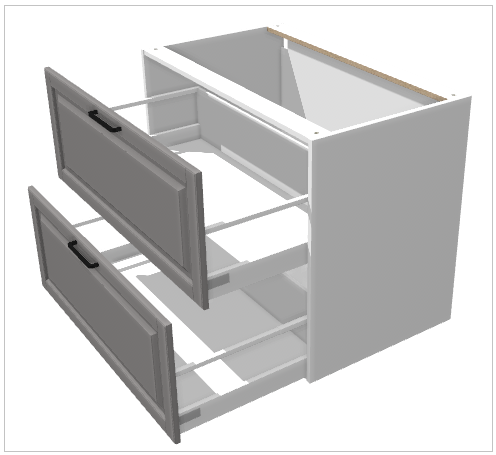
Click Delete to remove the internal drawer from cabinet as shown below.
Click Add a new item to add additional products. Products compatible to the cabinet are displayed.
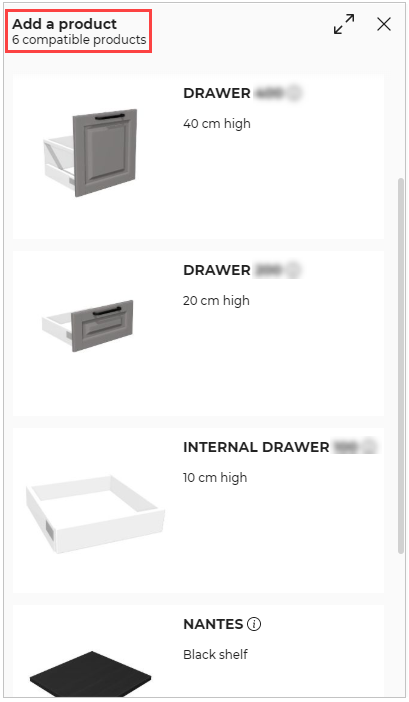
Select the product to add it to the cabinet. In this case we have added shelf as shown below.
- Click Done.
