Summary
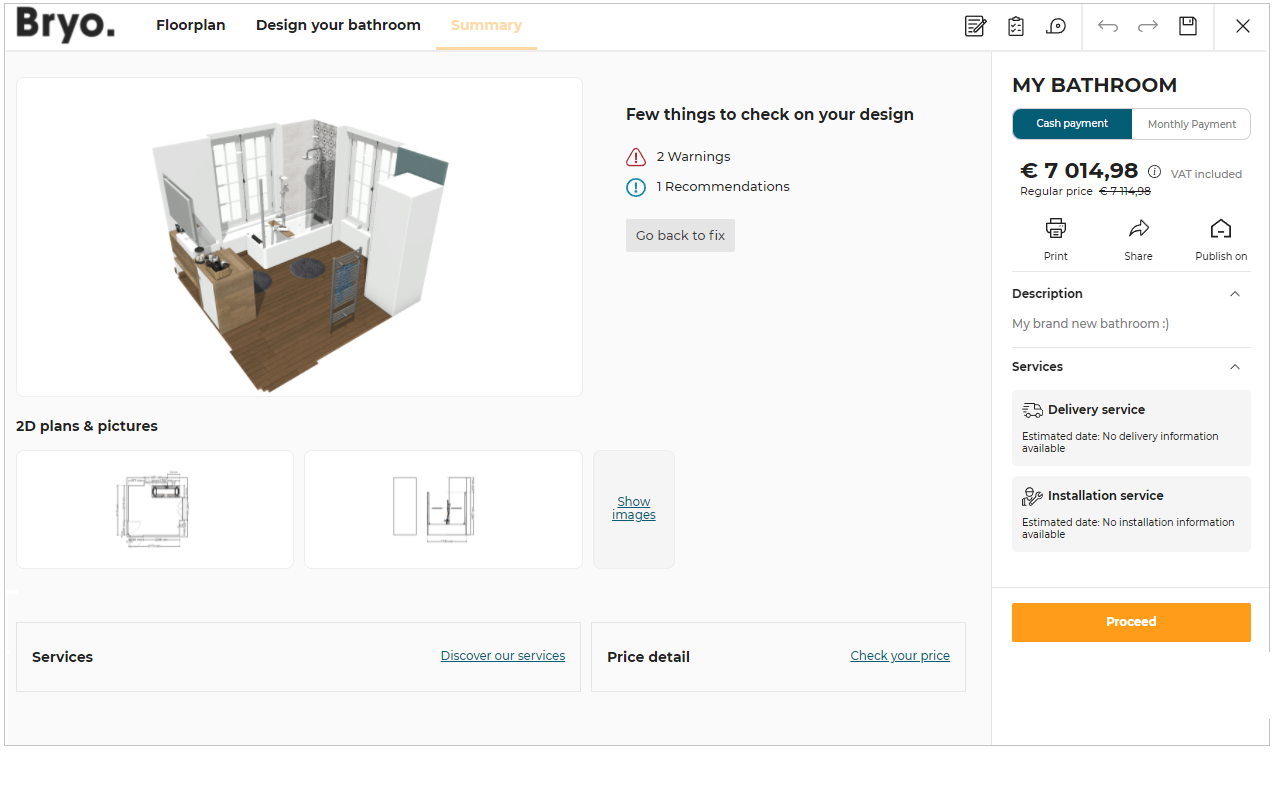
This is the third step in the application. It is the final summary of the bathroom after modifying it according to the user requirements. Users can go back to previous steps for modification.
Before proceeding to the summary step, it is recommended to save the project for the correct functioning of all options available in this step. However, many options in this step would require saving the project before proceeding.
Bathroom Information
This section has project information such as project name, price details, payment options, save and print project, share, publish on HomeByMe, and services for the project.
Project Name
Name of the project displays beside the image of the bathroom. This name is saved as MY BATHROOM by default. It can be renamed while saving the project.
Pricing Information
The total price of the bathroom is displayed in this section. This price includes VAT.
- Click
 (Information Icon) for pricing information.
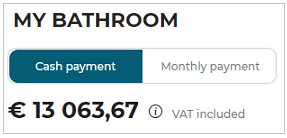
Payment Options
You can opt for the payment option in between cash payment and monthly payment, at your convenience.
Cash Payment To select the cash payment option, click the below Proceed button, by default the cash payment option is selected for the project.
Monthly Payment Select the Monthly payment option, to pay the amount of the bathroom on the monthly basis and click the below Proceed button. To know more about the pricing details, click see details about finance and validate to opt for the payment mode.
Share
⚙️ Set up: Application distribution parameter shareProject🔗 and bathroom iframe message ShareProject🔗.
If the value ofshareProjectis set to null in thestandardModule, then the bathroom iframeShareProjectoption is displayed.
If the value ofshareProjectis set to object {"url"}, then the default widget is displayed.
The value of theshareProjectis by default set to null in thestandardModule.
- Click the Share
 icon to share the URL of the current project, as shown below:
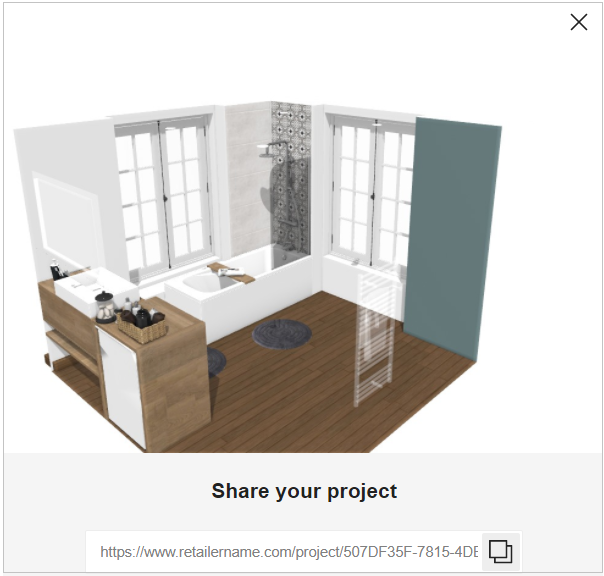
For more information, please refer Share Project Widget🔗
Publish on HomeByMe
You can publish your project on HomeByMe 🔗.
- Click the Publish on HomeByMe
 icon, the onboarding screen to publish on HomeByMe page appears, as shown below:
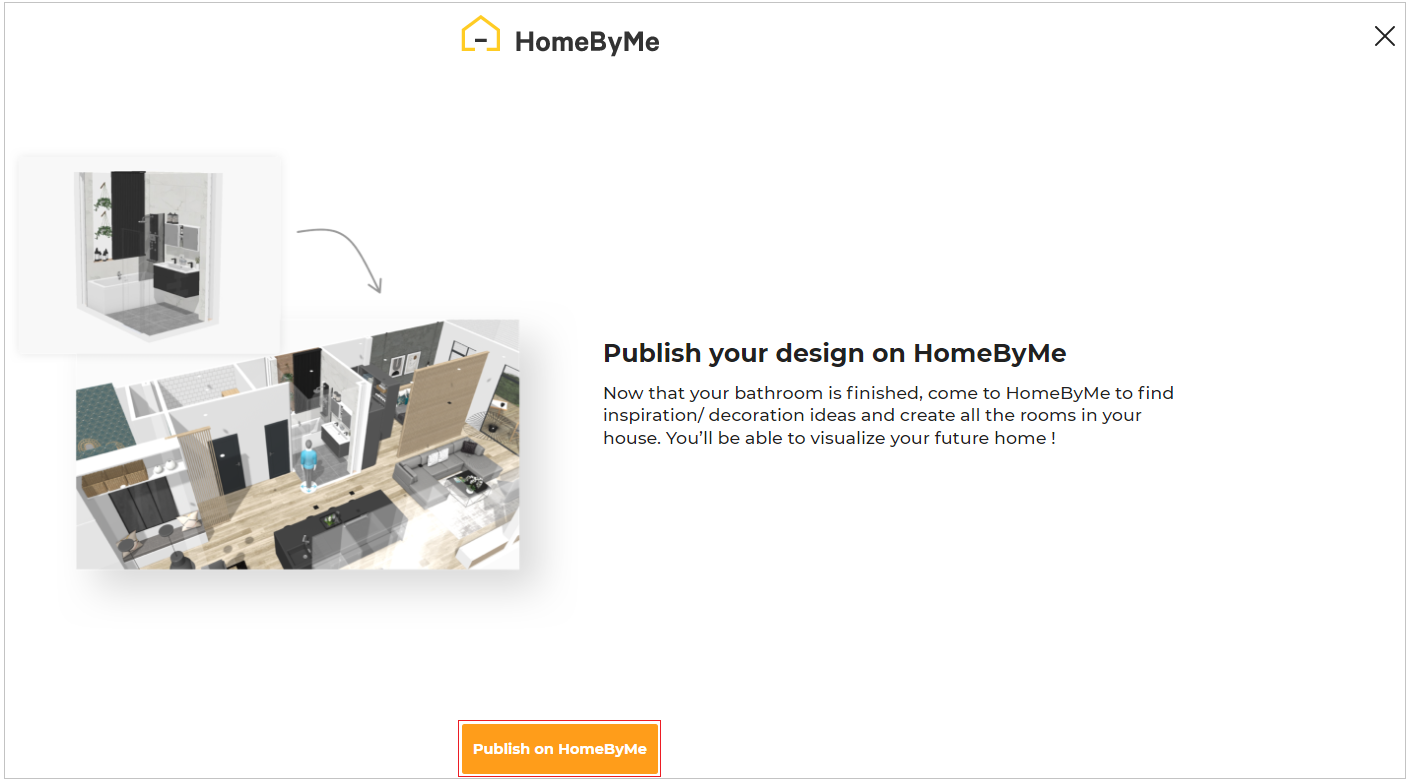
- Click the Publish on HomeByMe button, the login page appears.
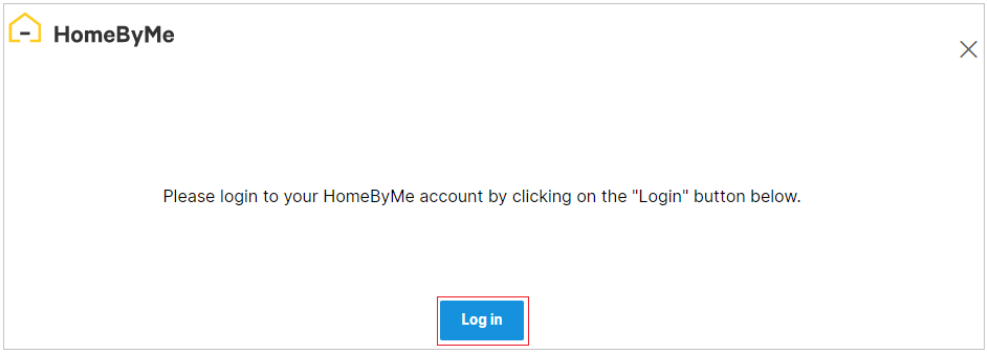
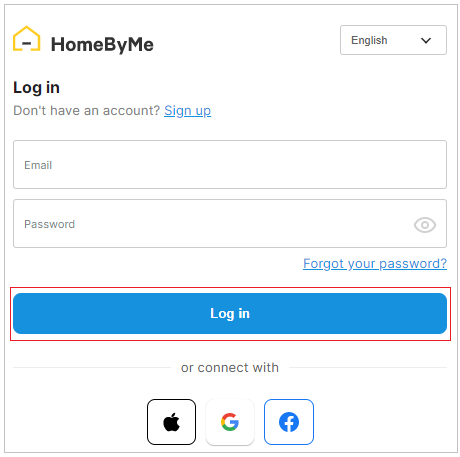
- Click the Login button and enter your HomeByMe account credentials.
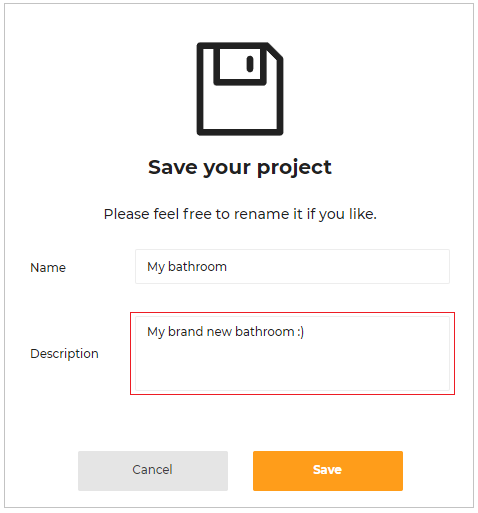
After entering the credentials, HomeByMe is connected, and the project renaming option appears, as shown below:

- Click the Confirm button to continue with the name of the project.
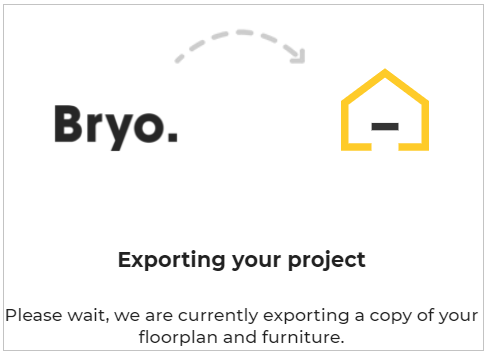
Exporting process begins, as shown below.
This might take some time.
A notification appears as shown below, confirming A copy of the project was sent to HomeByMe, as shown below:

Description
This section displays the description of the project added while saving the project for the first time, as shown below:
Services
This section displays the estimated date and cost of Delivery services and Installation services of the project.
⚙️ Set up: Application distribution parameter delivery 🔗 and installation 🔗.
The Delivery service and Installation service options are not available in the application when the value ofdeliveryandinstallationis set to True. The default value of the parameters are set as false.
Final Check
This section informs about expired products, pending warnings and recommendations to be corrected in the current bathroom.
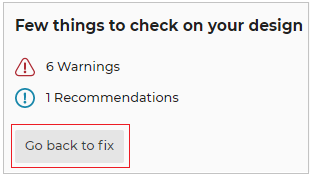
Click Go back to fix to replace the expired product, fix the errors, and obey the rules to make the project error free. Also, if an expired product is in the project, then the final price is not displayed, instead, the "price is not available" message is displayed. If there are no warnings or recommendations, the following message indicating that your design is error free is displayed.

Project and Item Notes
The user can see and edit the notes mentioned for the project and items in this section.
- Click the
 icon, the Notes section is displayed, as shown below:

Save
- Click the
 icon, to save your project.
Images and 2D Plans
This section allows you to view 2D plans and images of the bathroom project.
⚙️ Set up: Application distribution parameter images2DPlans 🔗 and Images2DPlansRequested 🔗.
If the value ofimages2DPlansis not defined in thewidgets, then theImages2DPlansRequestedis displayed in the Images and 2D section.
If the value ofimages2DPlansis defined, then the default widgetMediasis displayed.
For more information, please refer to Media Widget 🔗
⚙️ Set up: Bathroom iframe message Compute2DPlans🔗.
- If the value of the parameter
showFullIslandDimensionin Compute2DPlans is set to true, then all the possible dimensions of the island position are displayed.- If the value is set to false, then only one dimension of island cabinets position is displayed for each axis(the shortest one).
The Images and 2D Plans section is displayed, as shown below:
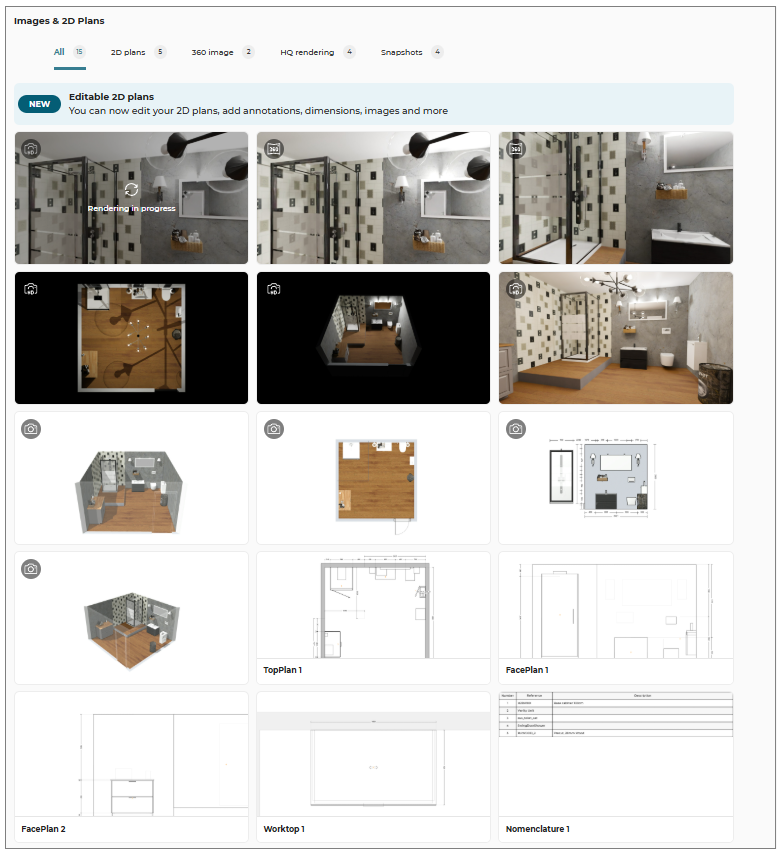
The total number of images and 2D plans are respectively displayed, as shown below:

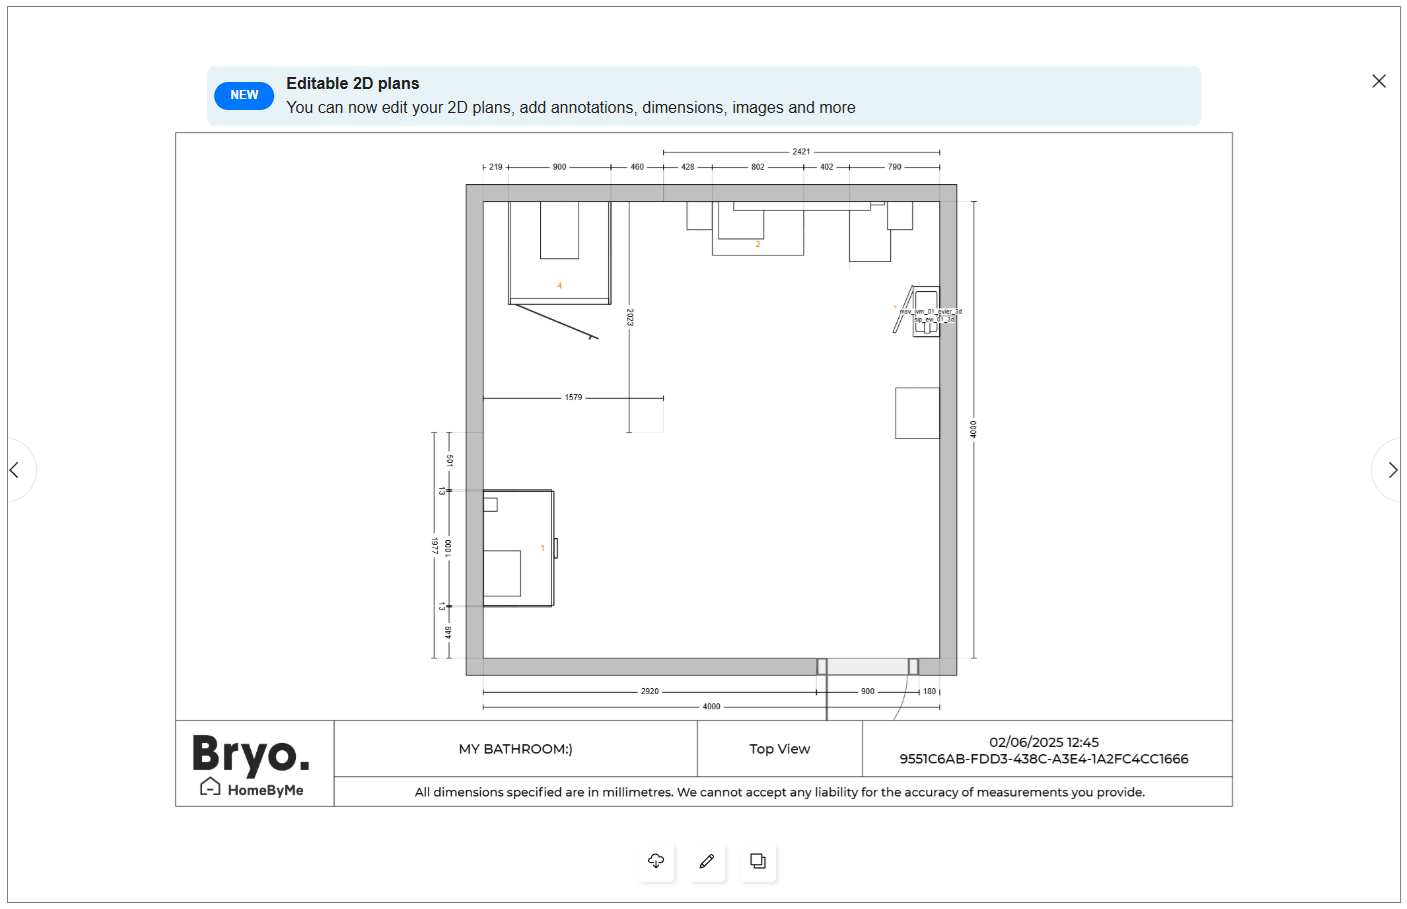
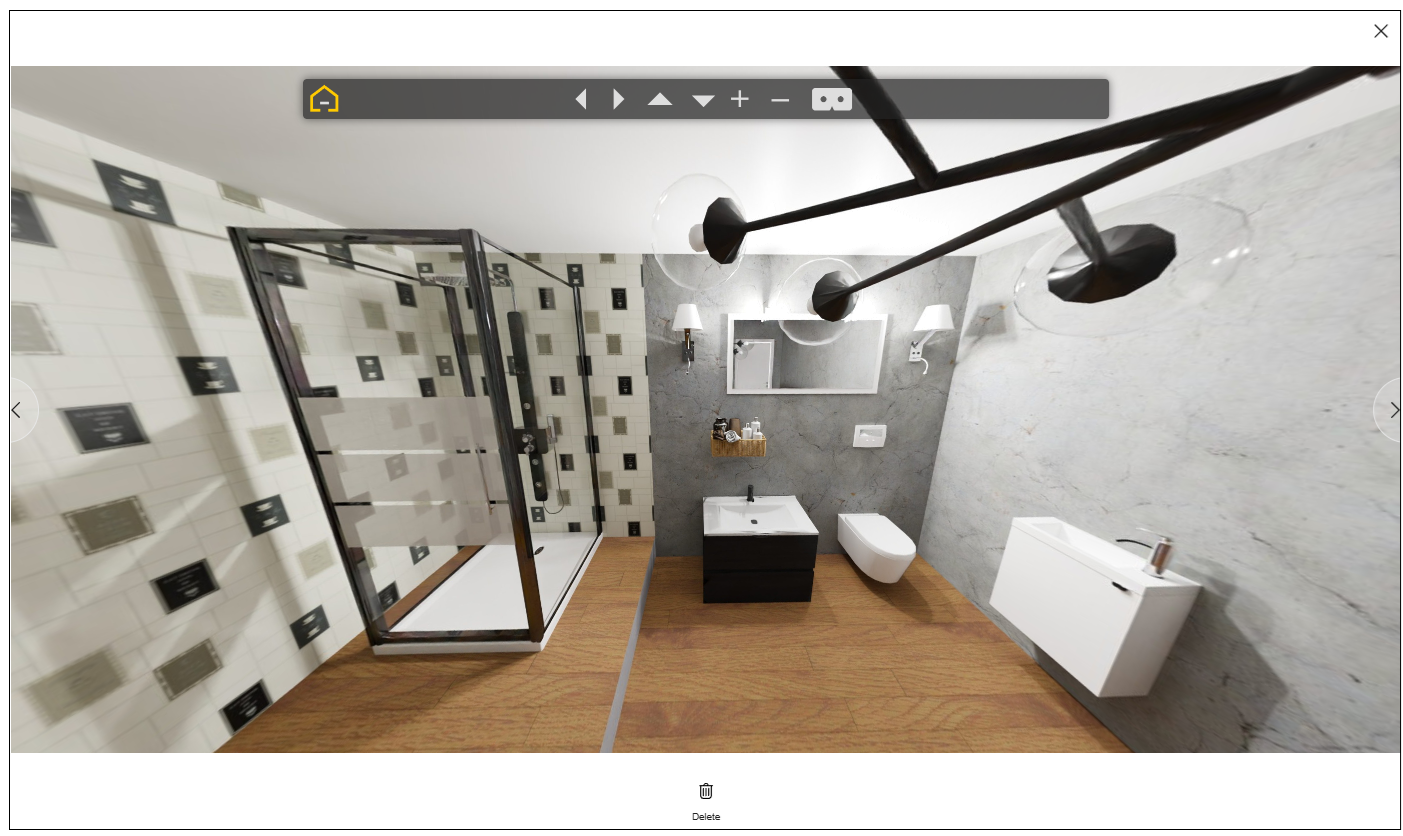
- Click the image/2D plan to preview it, as shown below:
You can preview the available 2D plans/ images of the project by clicking the previous/next arrow button.
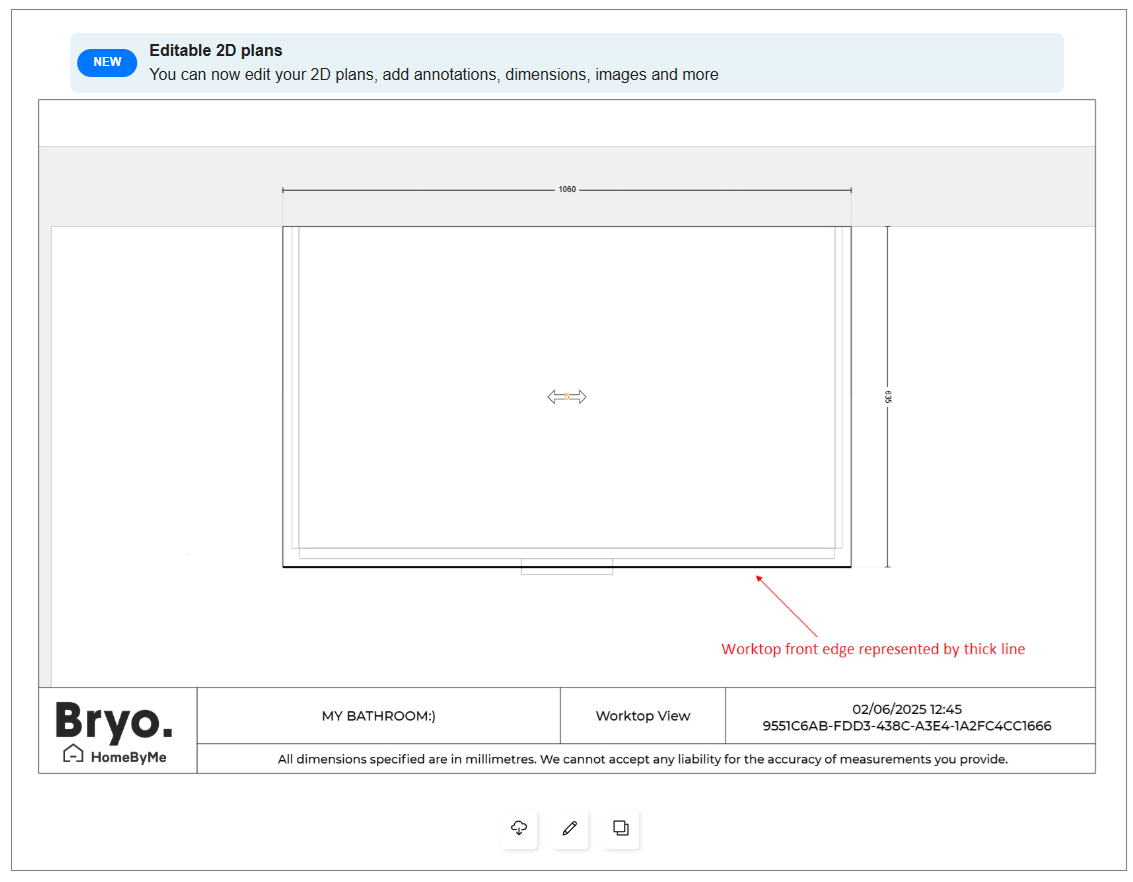
In the 2D plan, a thick line represents the front edge of the worktop.
- Click the Download button to download the 2D plans/ images.
⚙️ Set up: Application distribution parameter downloadImages 🔗.
- If the value of
download2DPlansis set to true in thewidgets, then theDownloadbutton for 2D plans is displayed.- If the value of
downloadImagesis set to true in thewidgets, then theDownloadbutton for Images is displayed.
- Select the 360° image and HQ image to preview the image, as shown below:
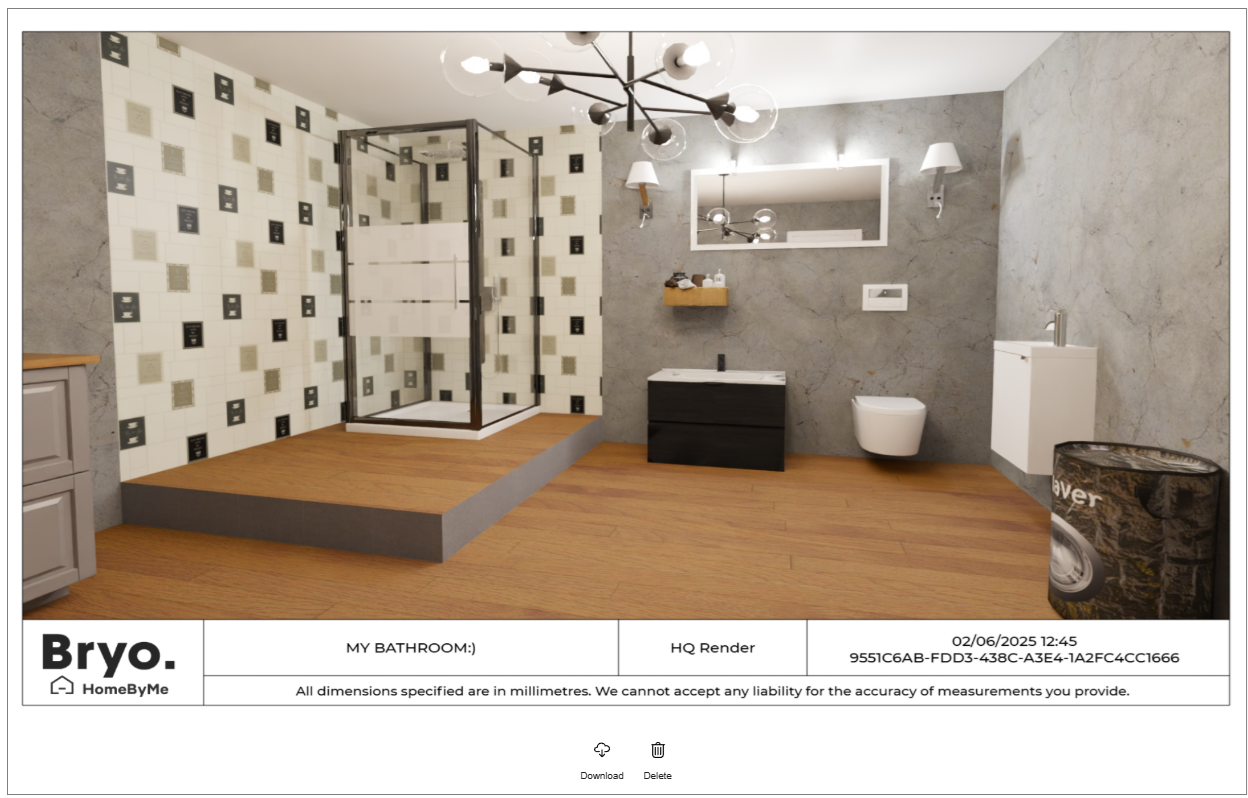
Click the Download button to download the image.
Click the Delete button. The confirmation pop-up is displayed, as shown below:
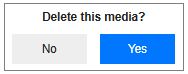
- Click the Yes button to delete the image. The image has been removed from the media.
- The 2D plans are automatically generated according to the products available in the project, they cannot be deleted.
If you have not created any images, to create an image go to the Design your Bathroom step. For more information, see Create Image 🔗
The Rendering in progress message is displayed while the image is being rendered.
Edit 2D Plans
You can edit the 2D plans.
- Select the 2D plan, the window to edit the 2D plan is displayed, as shown below:
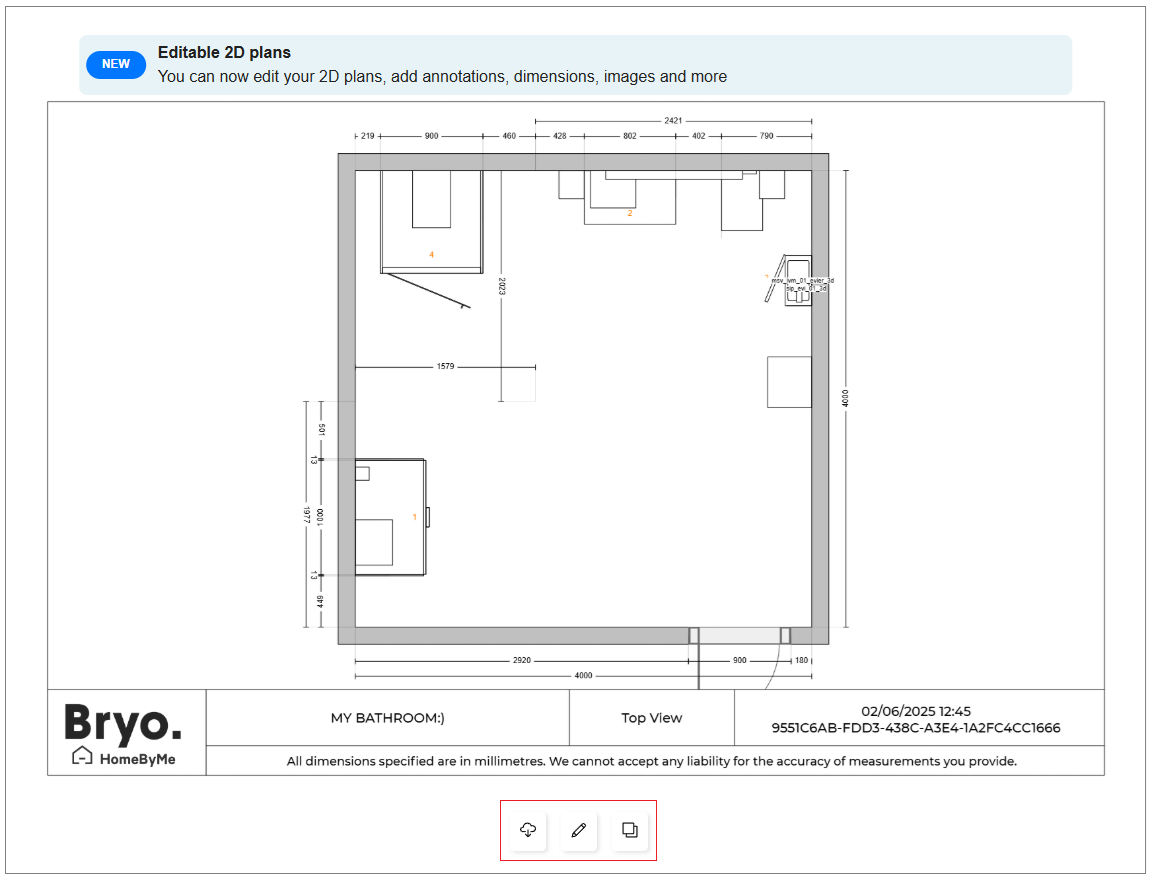
- Click the
 icon.
icon.
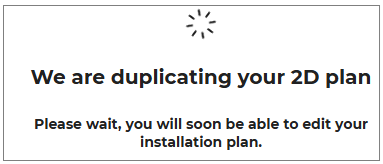
The notification We are duplicating your 2D plan window is displayed, as shown below:
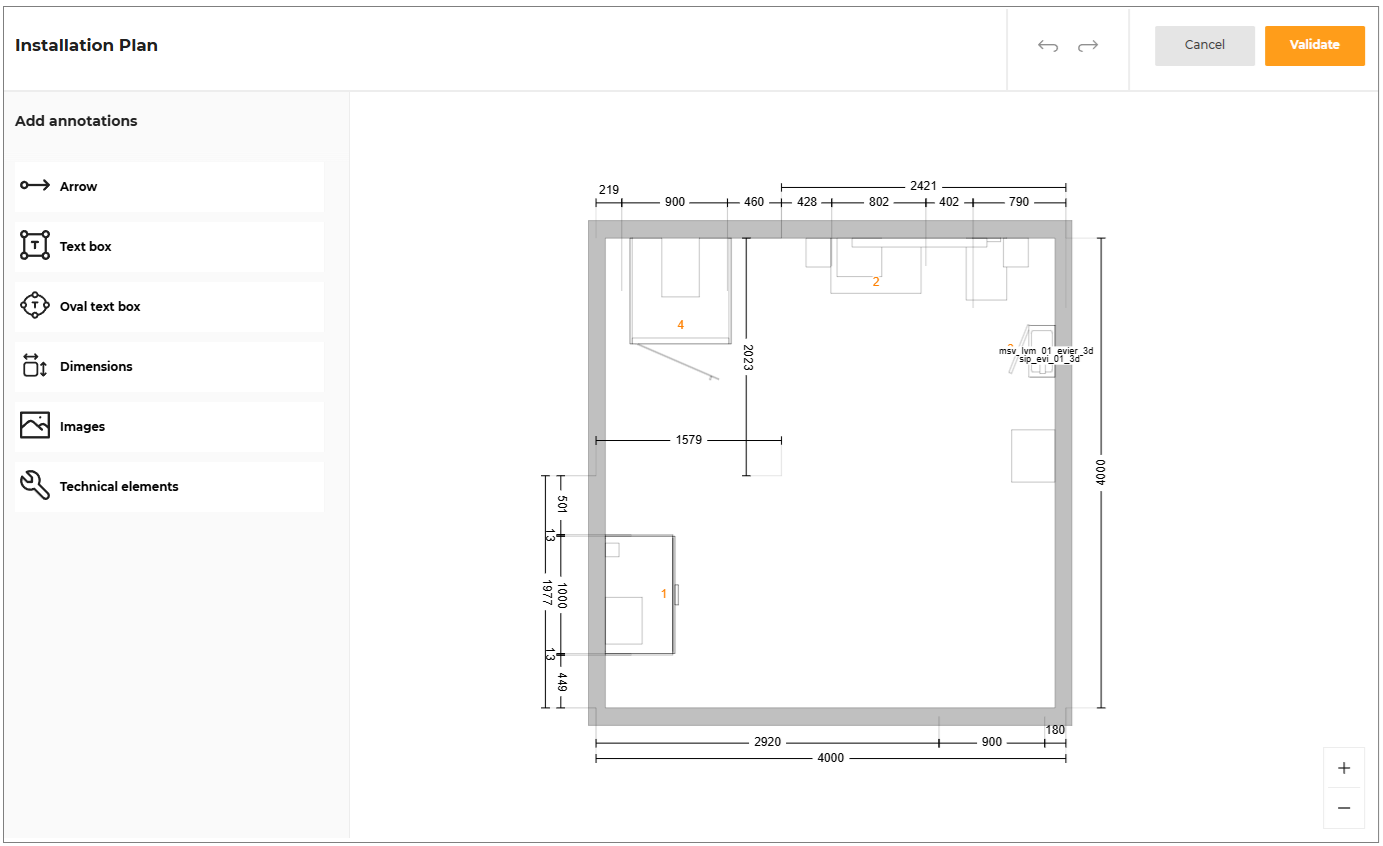
- Select the Annotations options, to add the annotations to the plan.
For more information, please refer Annotations.
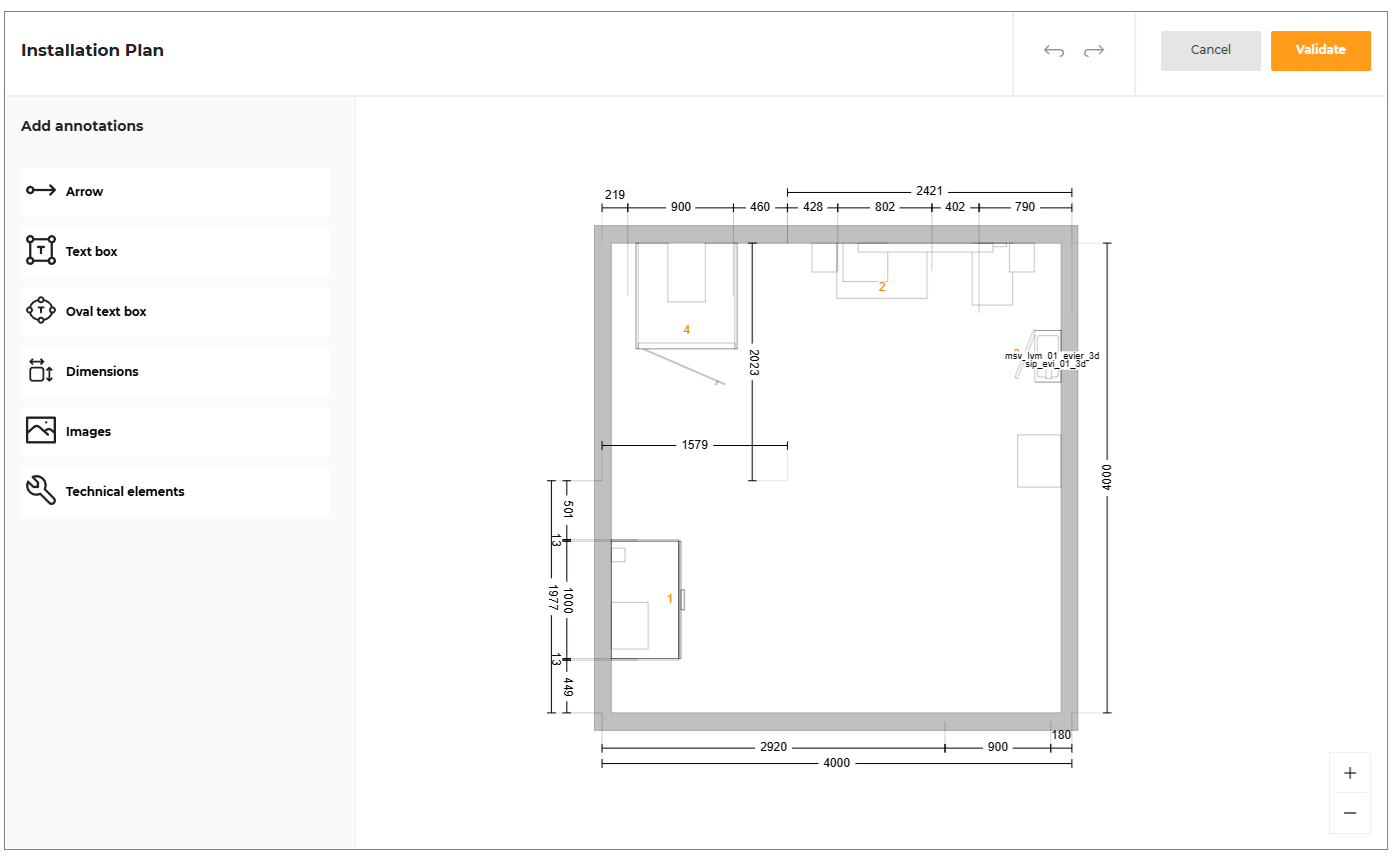
- Click the Validate button once the edit is done.
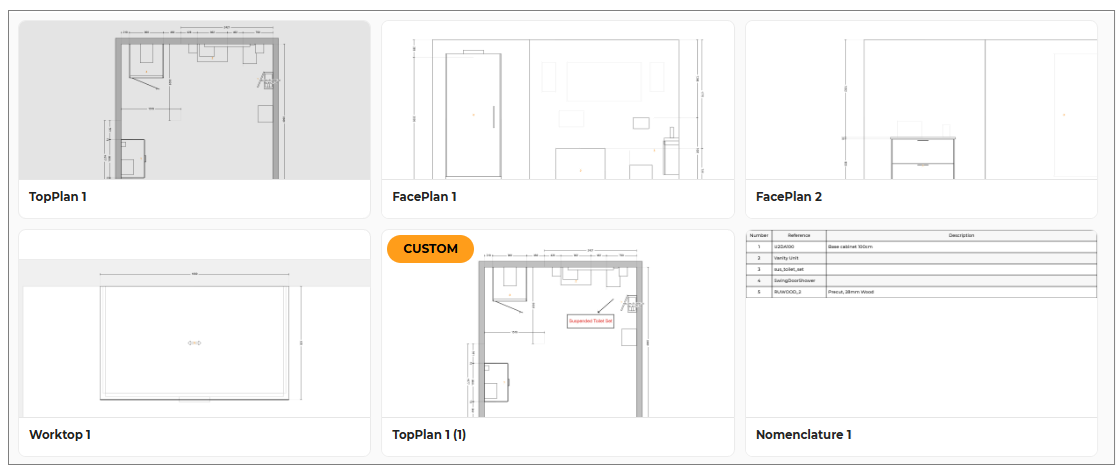
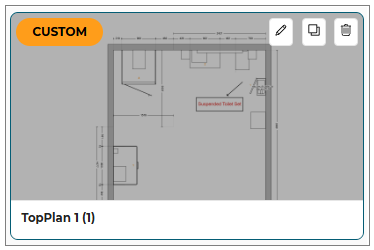
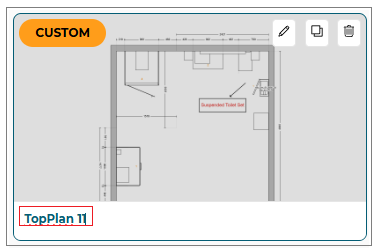
A copy of the original 2D plan is generated with Custom name, as shown below:
- The Edit, Duplicate and Delete option is displayed when you hover the mouse cursor over 2D plan, as shown below:
- Click the
 icon.
icon.
The Installation plan edit window is displayed, as shown below:
- Click the
 icon, to delete the custom plan.
The Confirm deletion window displayed, as shown below:
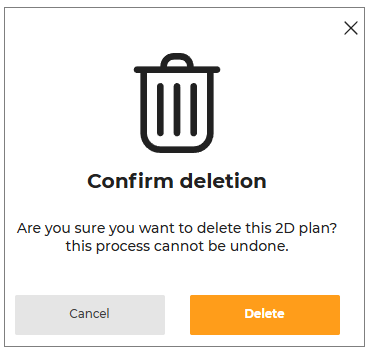
Click the Delete button to delete the custom plan.
Click and select the name of the Custom 2D plan to modify the name, as shown below:
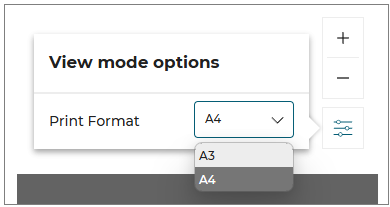
Print Format
You can dynamically modify the print format of your installation plans to either A3 or A4 size.
- Click the View mode options button.
The Print Format option displayed, as shown below:
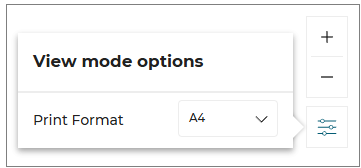
- Select the size of the format you want to print from the dropdown, as shown below:
To ensure your installation plans are perfectly tailored, here are the recommended dimensions for different print formats:
- For A3 size: Dimensions 2480 * 1754 to create a comprehensive and detailed layout.
- For A4 size: Dimensions 1600 * 900 for a standard and versatile format.
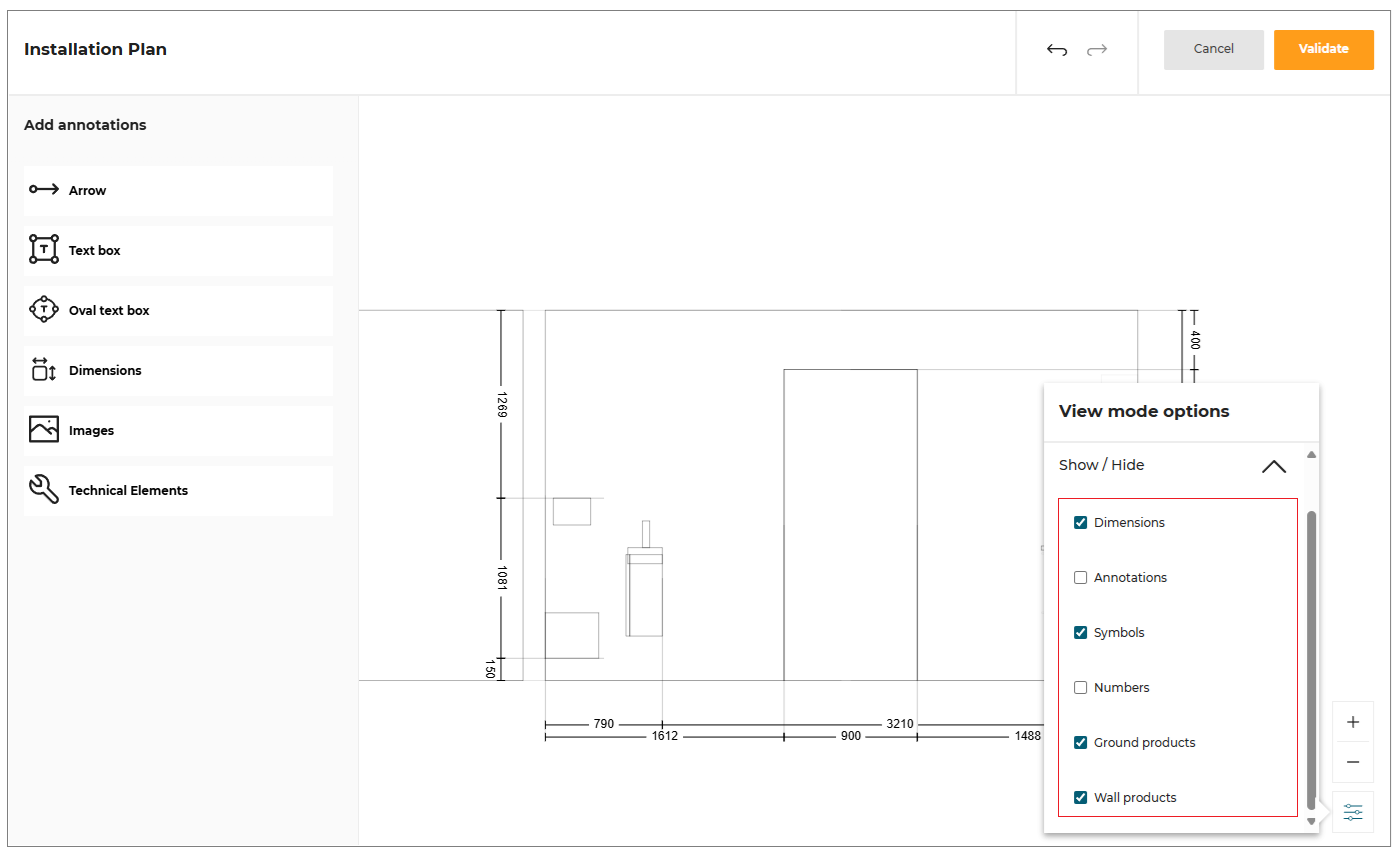
Show/Hide Annotation
You can customize the visibility of various elements within your installation plans to create a cleaner and more focused view. This feature allows you to show or hide specific elements such as cabinets, linear elements, dimensions, symbols, and annotations through a dedicated menu.
- Click the View mode options button to open the menu for showing or hiding elements in the installation plans, as shown below:
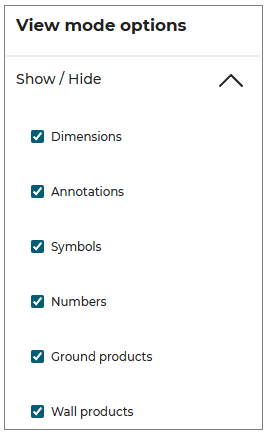
- In the menu, you can select or deselect the elements you want to show or hide, as shown below:
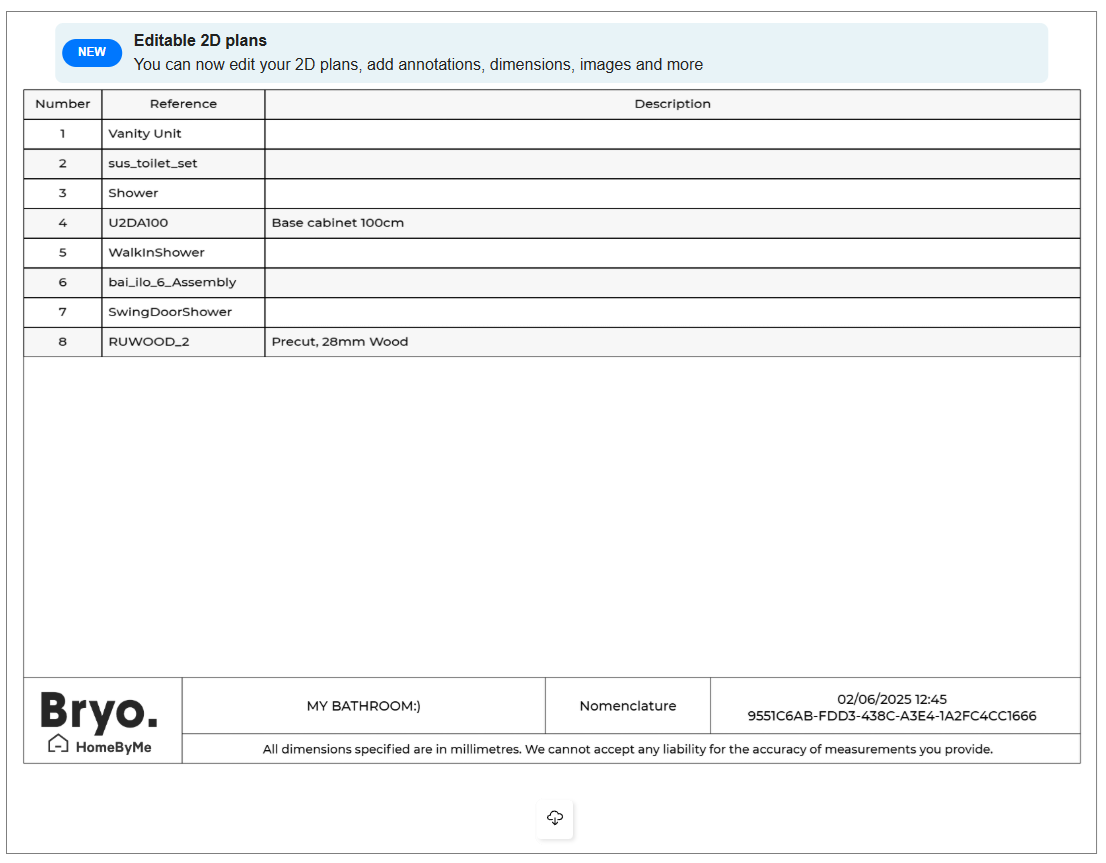
Nomenclature
The product numbering and references, forming the complete product nomenclature, are detailed within the installation plans.
- Select the Nomenclature from the 2D Plans, as shown below:
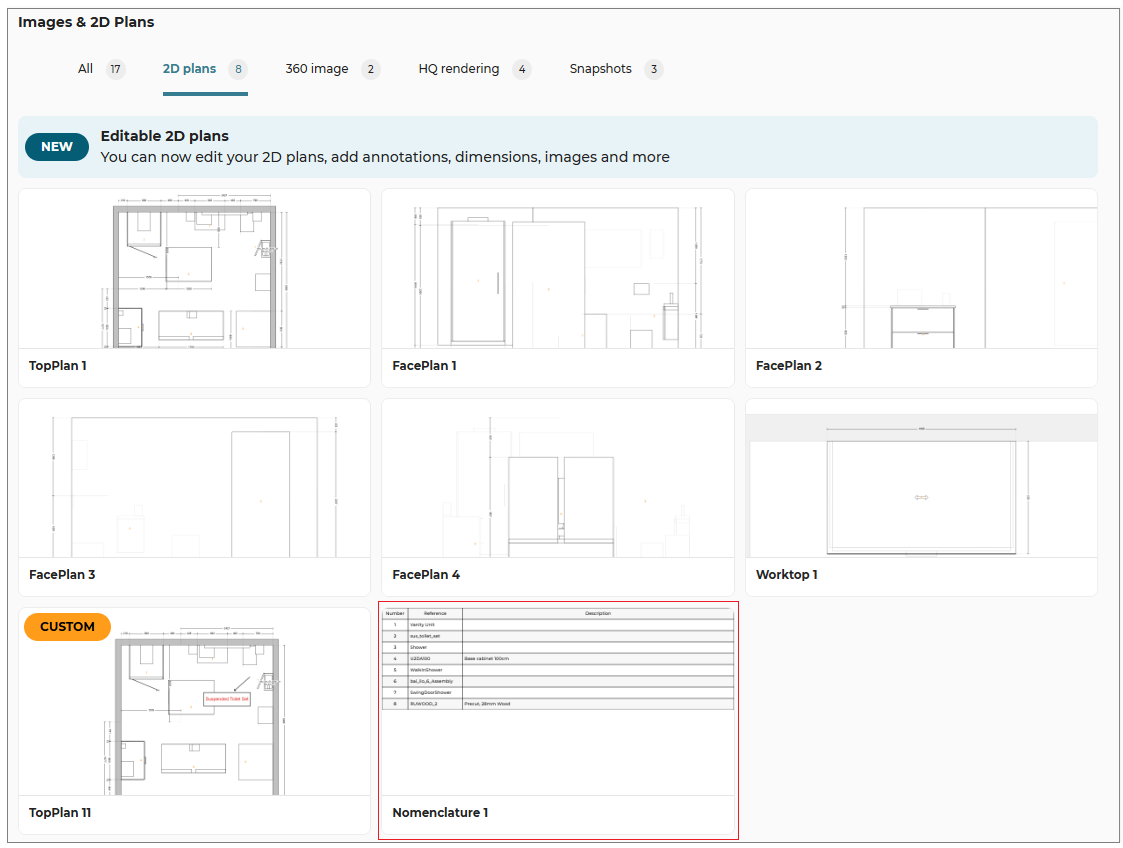
- The detailed installation plans contain the complete product nomenclature, including numbering and references are displayed, as shown below:
- Click the
 icon, to download the product nomenclature.
Services
This Services option displays the custom information (like book an appointment, book home measure, request brochure, find a local store, etc).
To see the custom information, click the Discover our services.
Price Detail
To see the detailed price and quantity of the items in the project, click the Check your price.
Proceed
This is the final step to purchase the kitchen.
⚙️ Set up: Application distribution parameter rulePopin 🔗.
- Click the Proceed button for further processing.
If the value of the parameter rulePopin is set to proceed, then the pop-in window informing Issues to resolve is displayed, as shown below:
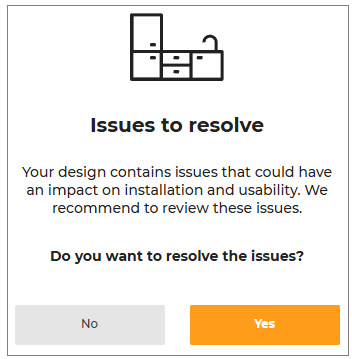
- Click the Yes button to go back to Design your bathroom and resolve the issues or,
Select the No button to continue.